2019 Reflections

2019 was one hell of a year. I had a lot thrown at me in my personal life and had health problems surface, all which kept me away from the wood shop much more than I had hoped for. Still, I achieved many of the goals I had set for myself and managed to almost triple my sales from last year. This adventure continues to be a great learning experience and I am so very grateful to be able to make things every day. Here is a little run-down of my projects from 2019.

59907D83-9350-49B3-B8F3-E162603E1007.jpg

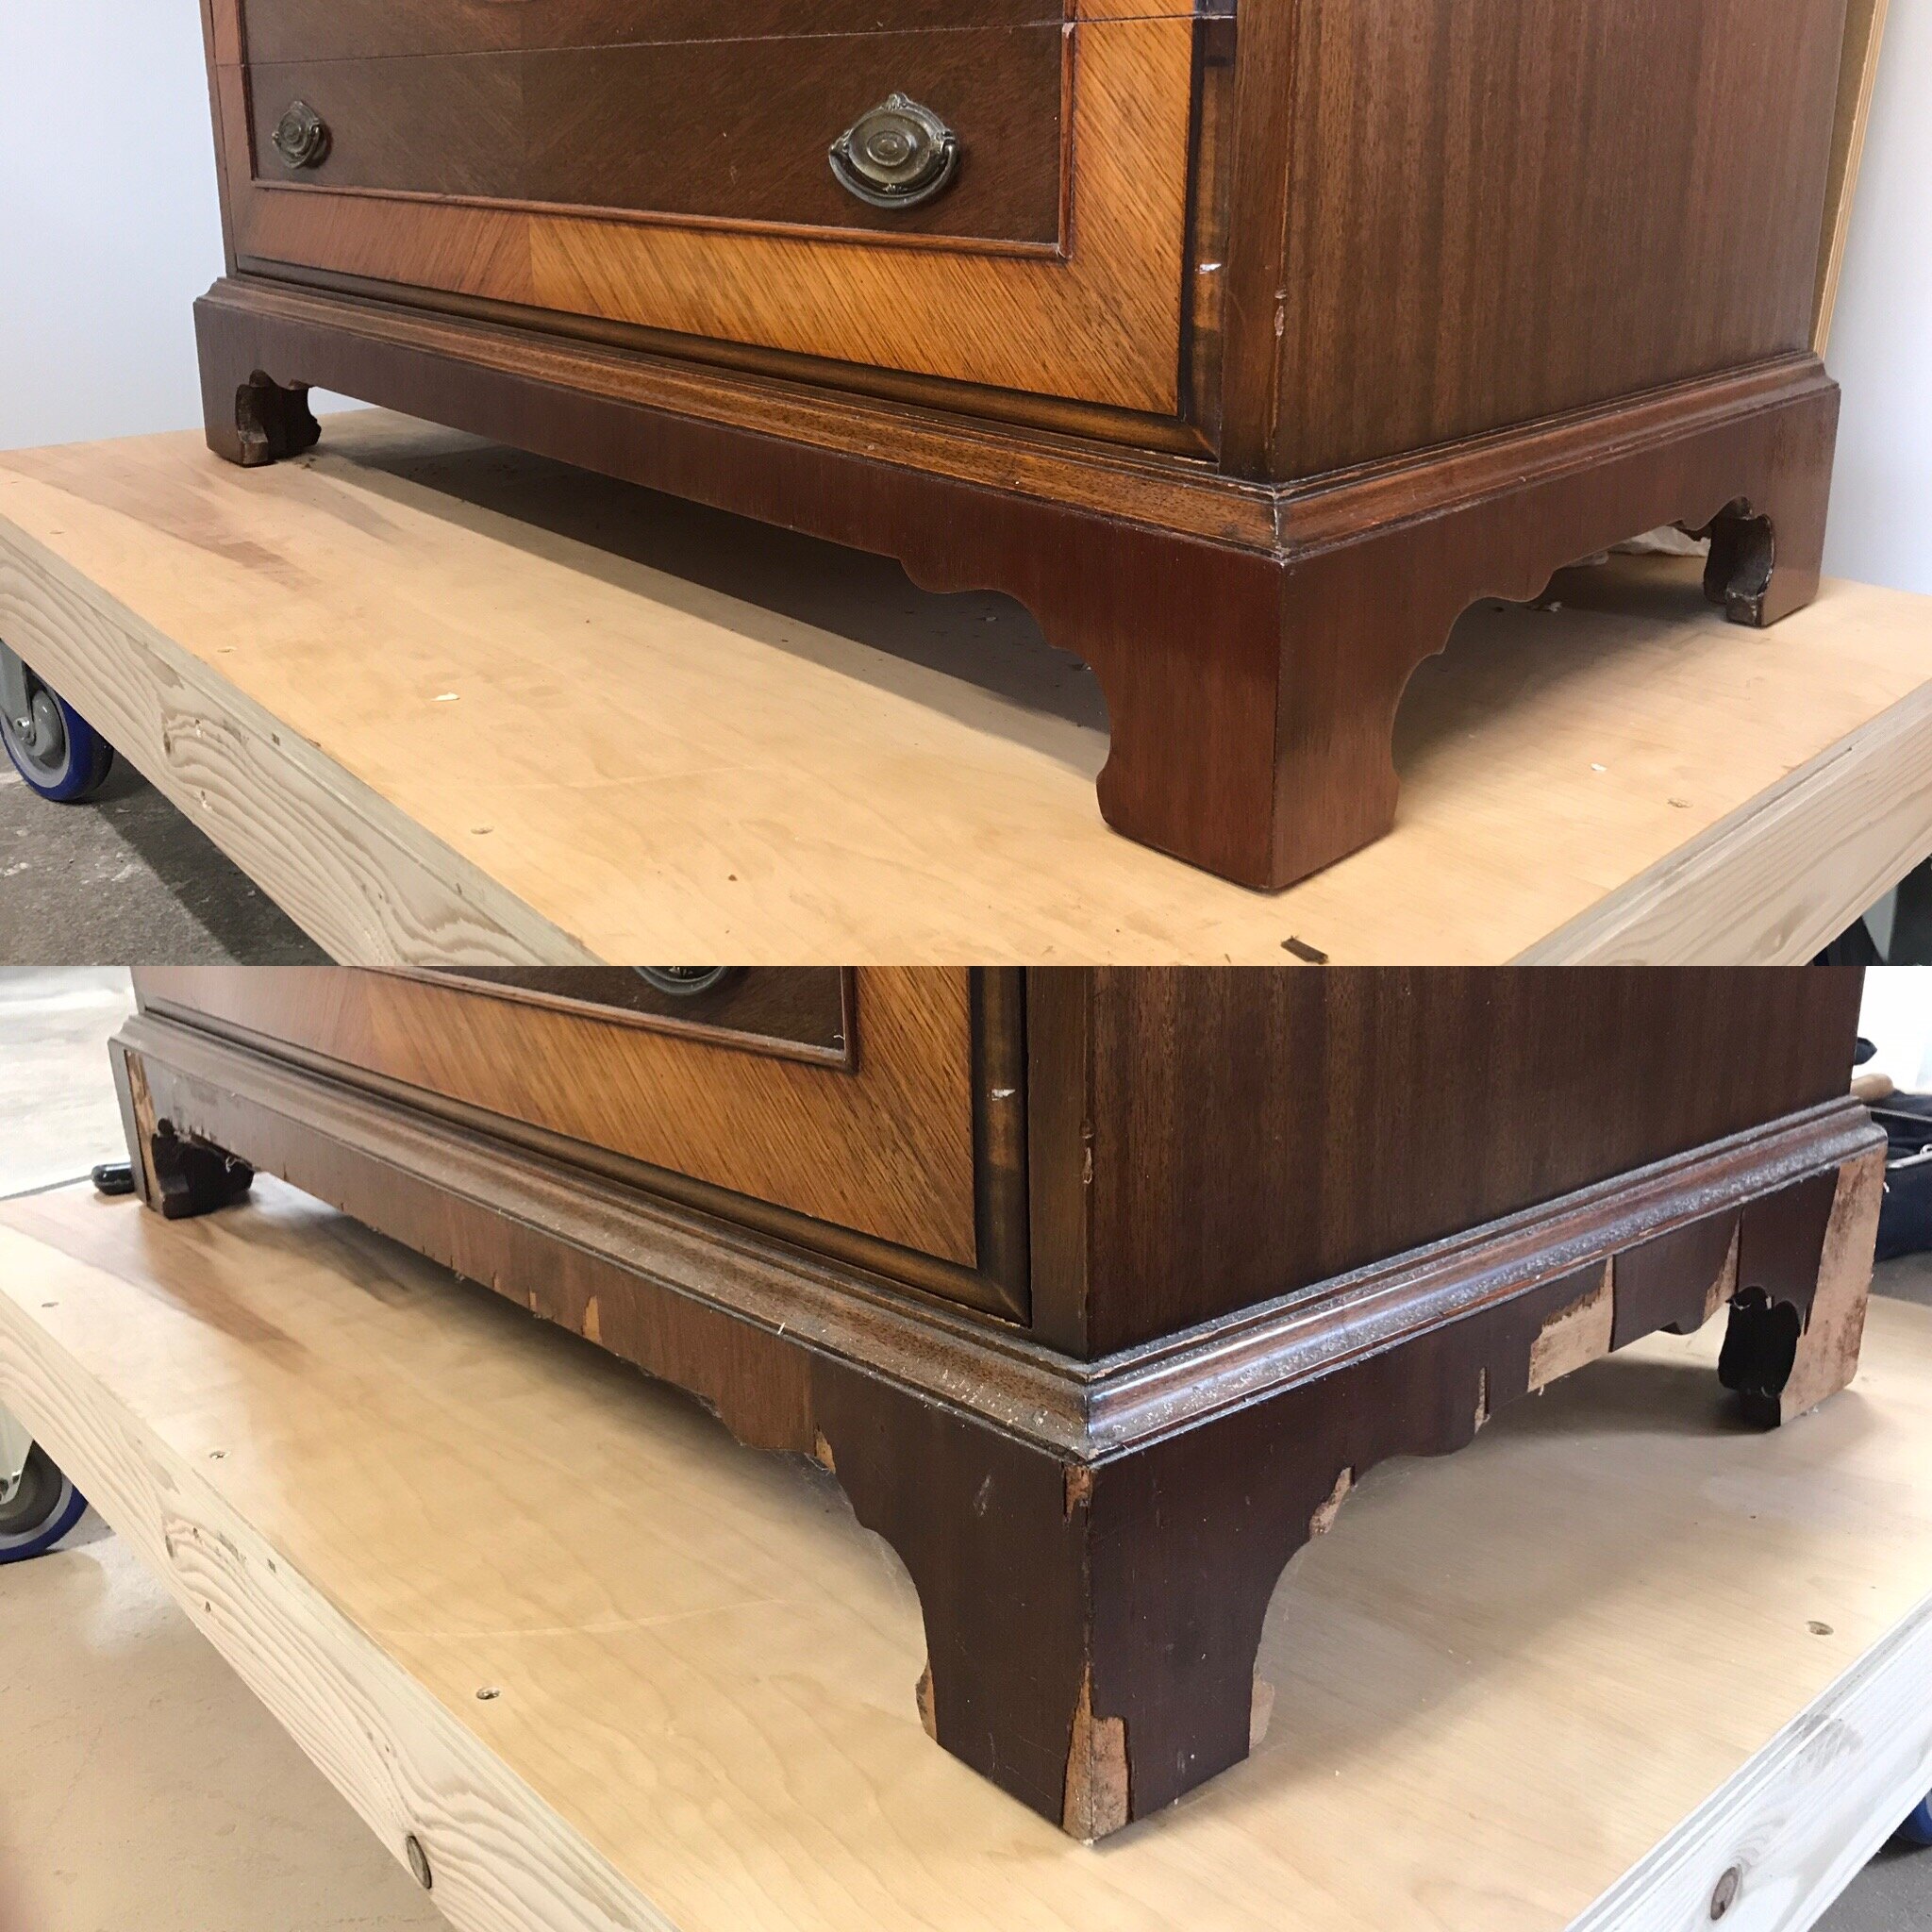
Secretary Veneer Repair

Over time, the mahogany veneer on the base of this secretary-on-chest had chipped away due to the glue becoming unlamented. Since the veneer wasn’t original to the piece, I removed the old, replaced with new, adhered with traditional hide glue, and stained to match the existing finish.

IMG_2969.JPG

Fiddlehead Shelves

These ornamental wall hangings are made by bent laminations, coopering and are backed with hand-made glass. For more details, read my blog post about the making of these shelves.

IMG_2911.JPG

PV Makers Faire

The first ever Pioneer Valley Makers Faire took place in April at Smith College. HT Woodshop had a booth where I demonstrated how to carve letters to make signs.

10767569504_IMG_2538.jpg

The Smith Table

This petite and modern hallway table is made from white oak, the grain is continuous throughout and features dovetailed feathers on the corners in contrasting black walnut.

HT_041119_08_72dpi.jpg

Devotion Shelf

I made this little heart shaped apothecary shelf using scraps and leftovers from the fiddlehead shelves. I am so happy with it that I plan on making more.

IMG_2755.JPG

Bedside Table Reproduction

I reproduced the shaker table on the right from the measurements of the one on the left. This project was a lot of fun and I would love to do more reproduction commissions in the future.

IMG_4103.JPG

Park Slope Table

This petite cherry pedestal table was designed to fit into a dining nook. The legs needed to be central so people could slide in and out easily.

IMG_2943.JPG

Segmented Bowl

One of my goals for the year was to make a segmented bowl. I will have a new blog post out soon about how I made it.

IMG_4424.JPG

Holiday Craft Fair and Web Store Launched!

The year was closed out with a successful craft show and the launching of my online store for holiday shopping. Most items were sold out!

I’ll be taking some time off this winter to rest and recharge. I plan on getting back into the wood shop in February and will have the online store back up and running soon thereafter. Thank you so much for following along and supporting my work! Happy New Year!

Making the Fiddlehead Shelf

My Fiddlehead Shelf is a sculptural wall hanging that was initially designed and built during a summer workshop on bending and coopering at The Center for Furniture Craftsmanship in 2016. This past winter, I had the pleasure of revisiting the design/build process to make a more substantial installation, consisting of 4 shelves and varying in sizes. The client came up with the idea to display them in multiples, highlighting the energy of the piece and the natural way a fern unfurls.

This project is made with bent laminations and coopering. Read on to learn about these techniques for bending wood.

HT_022229_06_72dpi.jpg

Lumber and Veneers

IMG_1856.jpg

There are a few wood species that are notably better than others to bend. Most importantly, you want to work with woods that have very straight grain and are durable and resistant to splitting. For this reason, I chose to make the spine of my shelf from quarter sawn white oak. It's defining characteristic is the beautiful striped pattern of tangential medullary rays, also known as, wood grain.

Bent laminations are made by gluing thin pieces of wood (laminations or veneers) together and clamping them to a bending form. When the clamps come off, the veneers hold shape. Pretty cool!

To make the veneers, I cut 3/32" wide pieces with a re-saw blade on the bandsaw. It was important to keep them in order so the grain would look continuous once it was glued up. After re-sawing, I palm sanded the machine marks off of the veneers, and they were ready for glue.

IMG_1837.JPG
IMG_2013.jpg

Bending Forms

Before gluing, I had to make my forms to clamp to. To do this, I made a full-scale drawing of my design. Below is an example of the smallest shelf: the circles representing the coopered cubbies and the S-shape representing the spine holding them together. The bending forms are then built from the negative space inside the S-shape.

IMG_1878.jpg
IMG_1875.jpg

Once I had a drawing of my forms, I labeled them and used spray adhesive to glue them onto pieces of MDF (Medium Density Fibreboard). The pieces were then shaped to the exact drawing size with the bandsaw, belt sander, and spindle sander. Then, I duplicated the parts, nailed them together, and used a flush router bit to get them identical. The result is a hefty solid block of MDF ready to withstand the pressure of many clamps.

IMG_1879.jpg
IMG_1889.jpg

Glue-up

IMG_1863.JPG

The surfaces of the veneers were glued, stacked together and clamped to the bending form. I used 3 strips of 3/8" wacky wood (Bending Plywood) as a backing caul to keep the veneers from splitting under tension. This was one of those tricky glue-ups that require a bunch of clamps, and once you start, you have to move quickly.

You can find a few time-lapse videos of the process on my Instagram page here. They are fun to watch! There's also a video of what the spine looks like when the clamps come off. Check that out too.

IMG_1953.JPG
IMG_2297.JPG

Hand-cut Joinery

To connect the spines together, I cut a half-lap joint in the center of the S. Since this process is tricky and specific, cutting the joinery by hand made for quick and accurate work. Once the half-laps were glued, I pined the joints with brass rods to create a stronger connection.

IMG_2303.jpg

Coopering

IMG_2184.JPG

The client wanted the cubbies to contrast from the spines slightly, so we decided to make them out of European Beech. Another one of my favorite woods to work with because of it's tight grain structure and attractive tangential rays that finish beautifully.

To build the cubbies, first, I re-sawed and planed the staves that become the cylinders. There's a bit of drafting, calculating, and head-scratching that goes into figuring out the thickness, width, and the number of staves needed to make a cylinder, so I'll spare you the details. Once my staves were cut to width and thickness, I used a bench-top jointer with a tilting fence to cut the proper angle on the long sides. The picture below illustrates this nicely.

IMG_2208.JPG
IMG_2220.JPG

The staves are lined up, labeled and held together with blue painters tape before being glued. I used plastic wrap to keep the cylinder clamped together, but you could also use rubber or athletic bands.

IMG_2209.JPG
IMG_2211.JPG
IMG_2218.JPG

After the glue dried, I removed the facets of the cylinders with a belt and spindle sander. Finally, a rabbet was routed into the bottom for the back piece to fit into.

IMG_2255.JPG
IMG_2266.JPG

Glass Cubby Backs

On the original design, the cubby backs are made from a thin piece of plywood, with a patterned veneered top. This time I wanted to add a bit of color to the design, so I decided to use glass. I went out and bought a glass circle cutter, which basically is a rubber nipple that suctions to the glass, attached to a revolving rod with an adjustable glass cutter head. Cutting circles took some getting used to and a lot of glass grinding, but I was happy to use some of my stained glass equipment. To protect the glass from breaking, I backed it with a piece of felt and plywood.

IMG_2475.jpg
IMG_2532.jpg
IMG_2477.JPG

The shelves hang on the wall by a small stepped hole in the center of the plywood backer. The photo on the left illustrates this.

IMG_2493.JPG

Glue-up, Again

IMG_2535.JPG
IMG_2632.JPG

Finish

After everything was attached and sanded nicely, I hand-applied 3 coats of Waterlox, buffed and waxed.

IMG_2633.JPG
IMG_2581.JPG
IMG_2582.JPG

This was a super fun project to revisit, and I am thrilled with the final product. It was a delight to get to collaborate with the client to develop their vision and build a piece of artwork for their home.

HT_022229_04_72dpi.jpg
HT_022229_01_72dpi.jpg
HT_022229_03_72dpi.jpg
HT_022229_05_72dpi.jpg
HT_022229_07_72dpi.jpg
HT_022229_08_72dpi.jpg
IMG_2825.JPG

Thanks for making it all the way to the end of this blog post. Have an awesome day!

Meet the Makers at 110 N Main

If you are going to read any of my blog posts, this is the one to read! I am delighted to introduce to you my friends and fellow shop mates: Seth, Emily and Nate! Seth and I started the wood shop last June and he runs his business making furniture, cabinets and architectural woodwork out of the space; Emily started renting bench space this winter while she has been developing a line of products for her new business and Nate is our resident woodturner who comes in on evenings and weekends, turns bowls and listens to The Grateful Dead. Read on to learn about who they are, what they do and how they became woodworkers!


Seth Capista

Seth and I are kindred spirits in a sense, we both went down similar paths in life and have run into each other along the way. We both say we’re from Ithaca, NY, but really Seth grew up in Trumansburg and I grew up in Lansing (each about 20 mins outside of Ithaca). As teenagers, we went to the same summer camp in the foothills of the Berkshires. As adults, we both got into woodworking around the same time and shared an apartment in Boston to attend The North Bennet Street School. It only made perfect sense that we would start a wood shop together after graduating.

Seth Capista lives and works with his wife Anna on their farm in Conway, MA where they grow veggies and flowers, tap maples and raise hens. In a nutshell, he is a builder of wooden things.  Furniture, cabinets, houses, knick knacks, tools, etc.  His work marries the old with the new and he always strives to do the task at hand faster and better.

IMG_4132.jpg
20160322 Seth Capista, Federal arm chair 2.jpg

What got you into woodworking?

I was building an outhouse on a farm I used to run, I realized quickly that I was better at building than farming and I also enjoyed it more.  

Whats your background with woodworking? 

I took a class on cabinetmaking at The New England School of Architectural Woodworking in 2012.  I worked in a few cabinet shops and realized I wanted to take the fine woodworking route that was a little more fulfilling.  I ended up quitting my job and attending the North Bennet St. School in Boston where I studied period furniture making.  I don't build much period furniture anymore, but I take the techniques and knowledge and apply it to all kinds of building practices. 

wingate_studio_walton_ford_pestvogel-9.jpg
seth_capista_kitchenbath-5.jpg

Favorite woodworker or role model:

There is only one answer for this question.  My teacher and mentor, Lance Patterson.  He’s such an inspiring and amazing person, he wont accept half-assing and will push you to do your best work.

Favorite thing about Western Mass:

River swims in the summer.  

Favorite hand tool:

Blue tape.  Kind of a joke, but also not.  Its a .005" shim, a clamp, a label, and I guess you can use it to mask stuff off too.  My second choice would probably be my vintage Stanley No. 71 1/2 Router Plane.  Its stamped 1901 and it works like a charm. 

wingate_studio_walton_ford_pestvogel-12.jpg

You can find Seth at www.sethcapistawoodworking.com and on Instagram @seth_capista_woodworking


ROO01715.jpg

Emily Deutchman

I met Emily when I moved to the Pioneer Valley and got to know her by renting out bench space at Oxbow Design Build, where she was shop manager. Emily knows a ton of people in the area and she is a natural networker and community organizer. She is creator and lead organizer of the group We Are Makers, which is a resource platform providing peer support & collaboration to increase the visibility & profit of female & gender non-conforming makers in Western Massachusetts.

Emily Deutchman is a fine artist turned furniture maker, product designer and sculptor. She has an undergraduate degree in Philosophy and Fine Art from Skidmore college, and studied furniture design and fabrication at the Center of Furniture Craftsmanship in Rockport, ME. Her paintings have been featured in New York Magazine and The Huffington Post. She has worked with a number of artists including William Pope L. and Ellen Frank. While living in Brooklyn, she worked as a furniture conservation technician at Fine Wood Conservation. Most recently, she worked as the lead shop carpenter and shop manager at Oxbow Design Build in Easthampton, MA. Now, under the name Emily Deutchman Design, Emily is working on creating a line of small home products, focusing on simple and clean forms taking aesthetic inspiration from Japanese and Shaker design.

FB_20140409_22_50_07_Saved_Picture-Emily’s MacBook Pro.jpg

What got you into woodworking?

After deciding that the world of "fine art" was not for me, I decided I was interested in a career in applied arts. I love the utilitarian aspect of the objects I create as a framework to guide my aesthetic decisions. I took a few wood working courses and fell in love with wood as a material- specifically the ways in which the possibilities and limitations inform the fabrication of an object. Wood is complicated and varied, it takes a lot of experimentation to develop an understanding of how it behaves. The negotiation of the material, the purpose and the design is extremely exciting to me.

Whats your background with woodworking? 

I only truly began working with wood six or seven years ago. I took a couple of courses at a community shop in Brooklyn that doesn't exist anymore, and immediately enrolled in an intensive nine-month furniture making program at the Center For Furniture Craftsmanship. After finishing at CFC, I worked as a carpenter's assistant, a furniture conservator, and most recently as a lead fabricator at a design/build shop. 

OD_021218_01_72dpi.jpg
20190220_163707.jpg

Favorite woodworker or role model:

Some incredible contemporary female woodworkers who I look to are Heide Martin, Mattie Hinkley and Yuri Kobayashi all of whom push the boundaries of "Art" and "craft" 

Favorite thing about Western Mass:

I tell my friends that Western Mass is a perfect combination of farmers and Intellectuals. 

Favorite hand tool:

Probably my baby 2.5" starrett square, or my Lie Nielsen block plane

What inspires you?

I'm inspired by process. Time seems to slip away when I'm working on a project. Craft is unique in it's engagement of the physical and the mental: problem solving and physically interacting with objects in real space. I love beautiful things (a real Taurus)- not just looking at them, but touching, holding and interacting with physical objects. 

7 x 7 corner.jpg

You can find Emily at www.emilydeutchman.com and on Instagram @emmsterdam


DSCN1441.jpg

Nathaniel Groppe

Nate and I met at The North Bennet Street School and went through the Preservation Carpentry program together. At the time, we both lived in Jamaica Plain so we ended up running into each other on the train ride to the North End, we started carpooling to job sites together and quickly became good friends.

Nathaniel Groppe is a timber framer, wood worker and gnome enthusiast. He is originally from the Boston area, but now lives in Montague, MA after stints in Vermont, NYC and California. He lives with his future wife, Maylis, and their dog, Leo. 

What got you into woodworking?

My initial interest in woodworking came from trying to find a way to make a living while getting to be creative and use my hands. My first love is definitely visual arts. I have always loved drawing, painting and sculpting. I think woodworking came as a natural extension of my art background and seemed like it had a more practical application. Seems a bit easier to convince someone to pay me for a turned bowl then a strange painting of a gnome. I don’t want to sound like my only interest in woodworking and carpentry is monetary. What really pulled me into the wonderful world of wood was the artistry of wood working and a desire to be a truly skilled craftsperson. 

DSCN1408.jpg

Whats your background with making? 

I’ve been creating for as long as I can remember; from crude drawings of the ninja turtles as a young child to the needle felted sculptures I make today. I have always had a deeply rooted desire to create. As far as woodworking goes, I had some very basic knowledge from working as a house painter, custom art crate builder, and working in a picture frame shop, but I began to see the true craft of woodworking while enrolled in the preservation carpentry program at the North Bennet Street School. It was at NBSS that I fell in love with wood turning. I find wood turning, particularly bowl turning, really stimulates my artistic side. As soon as I got on a lathe I was immediately hooked. I find watching wood curls peeling off a beautiful piece of wood and watching a bowl emerge from a rough piece to be a very meditative experience. 

I also fell in love with timber framing and carpentry in general. I have been working as a timber framer/carpenter for the past several years and I find it to be very satisfying. In wood turning, furniture making and timber framing, we are creating utilitarian sculptures; homes, bowls and chairs that have to serve a function, but also have to be visually pleasing. As a crafts person I hope to exist somewhere right in the middle of form and function.

DSCN1432.jpg

What inspires you?

Everything inspires me; music, well made art and crafts I encounter, the woods and nature, my fiancé, beautiful well made houses, funky figured wood grain, my friends and family. I have always liked being surrounded by creative people. I grew up in a family that highly valued creativity and that has definitely stuck with me. Watching and collaborating with friends as they create always gives my creativity a little kick. 

Favorite thing about Western Mass:

Definitely the nature. I often find myself in awe of the beauty of the landscape here. I love my peaceful house in the forest.

DSCN1440.jpg

Favorite hand tool:

My 3/8ths bowl gouge or my 1 1/2” framing chisel but it really depends on the task at hand. Love my low angle block plane when I’m on the job too. 

Favorite woodworker or role model:

I’m not sure I have a favorite woodworker or role model. While I’m certainly inspired by lots of artists and craftspeople, I think it’s important to walk my own path and not compare or value myself based on anyone else. In terms of my career as a carpenter, I think my uncle Jerry Sawma, who was a master timber framer, was a real inspiration to me. I can only hope that I’ll look back on my career with the same respect that I look at his. . 

IMG_1320.JPG

You can find Nathaniel in the woods.

2018 Reflections

2018 has been a big year for me. I moved to the pioneer valley, started HT Woodshop LLC, bought a house, set up a wood shop and actually made a few sales in the process! I cannot truly express how grateful I am to everyone who has supported me in this endeavor. As the year comes to a close, I am looking forward to taking a few days off to reflect on this past year and begin to dream about 2019. Here’s a little synopsis of 2018 and some of the projects I had the privilege of working on.

 
IMG_0417.JPG

Nova Secratary

Restoration of this antique family heirloom from Nova Scotia. This project included repairs, a complete refinish and a few hidden gems. Read the full story here

 
IMG_0876.jpg

Jewelry Case

Black walnut case, dovetails throughout, exotic Chechen drawer fronts, black velvet interior with lap jointed dividers. This project was a skill builder.

IMG_0952.jpg

Plant Stands

These plant stands were made from leftover scraps - walnut, ash and maple. I was in love with the two tone aspect of the legs and wanted to feature that on an easily reproducible design. This project was just for fun.

HT_053118_02_.jpg

The William

Cabinet

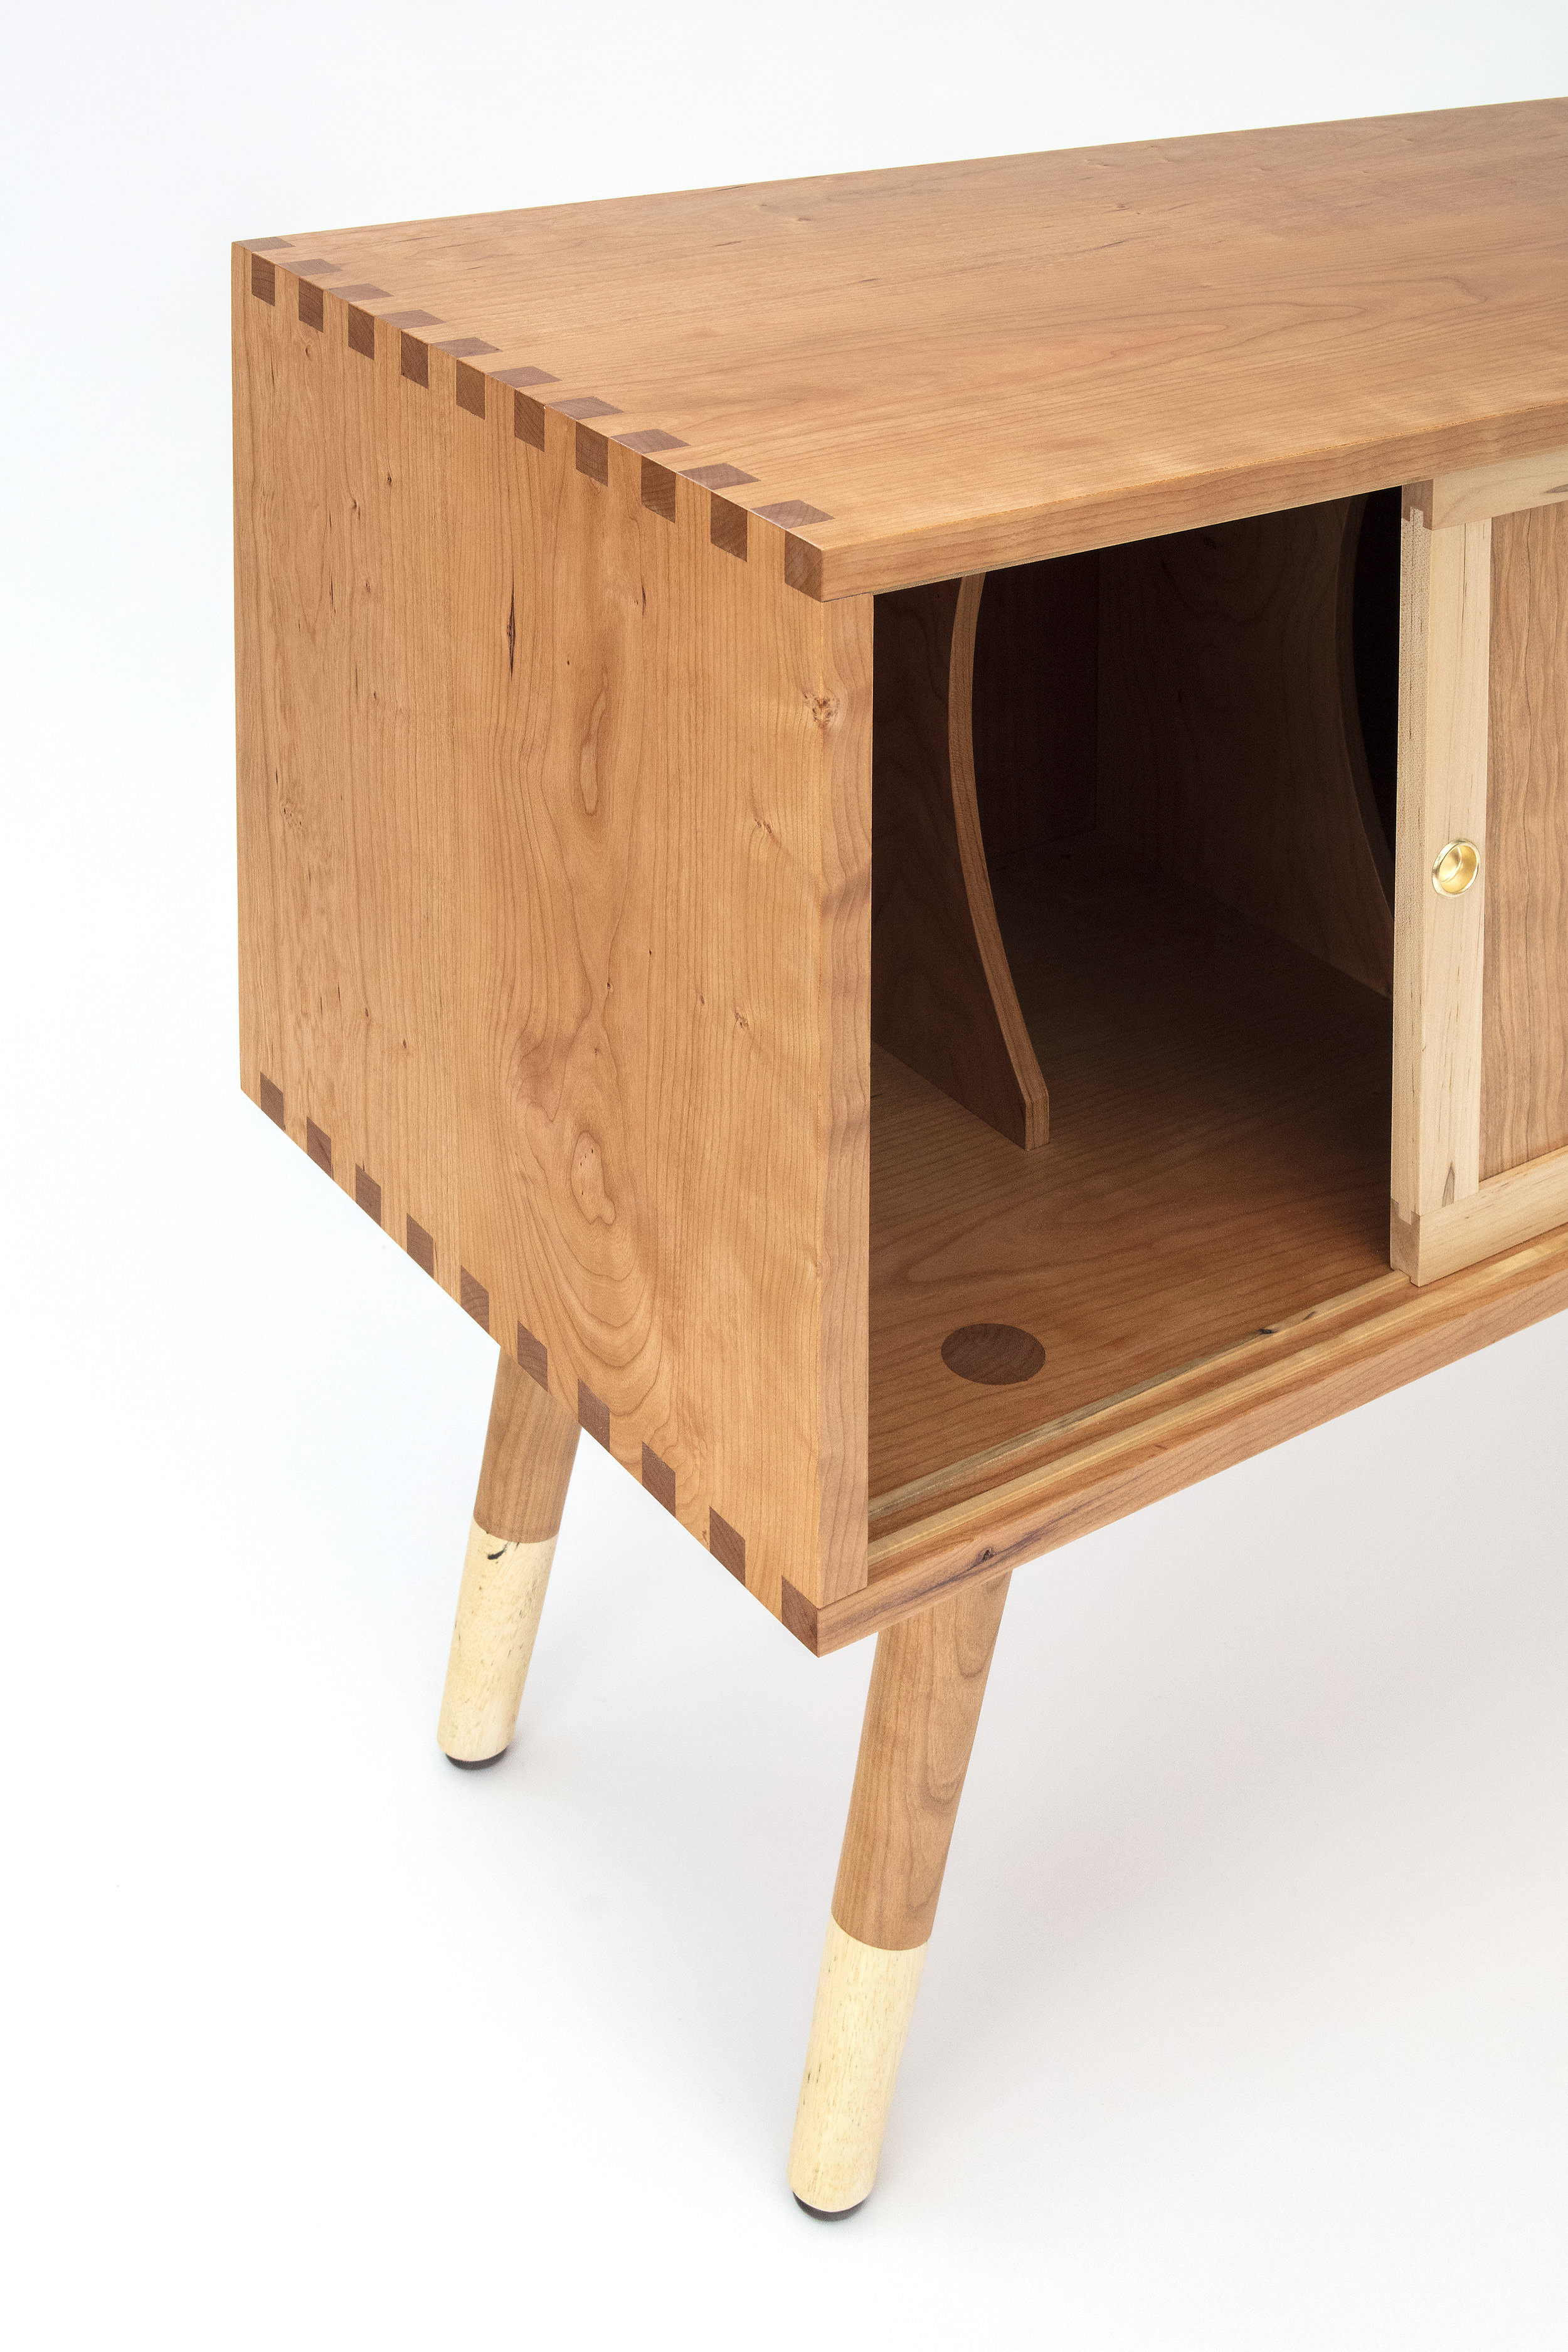
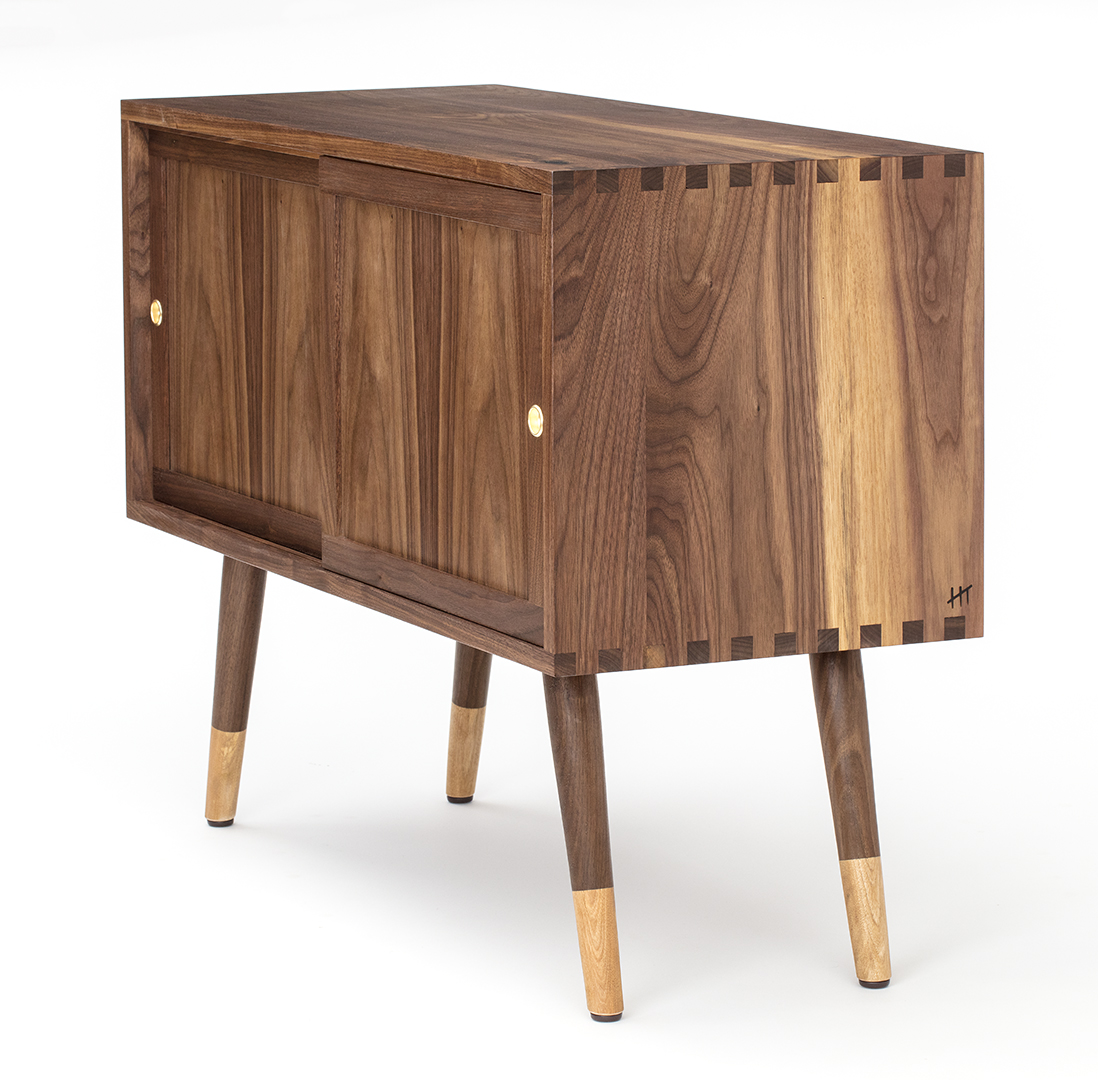
My favorite project from 2018! I reproduced two record cabinets from a design I had made in 2017. Box joint case construction, sliding frame-and-panel doors, dividers, two tone legs attached to the case with through wedged tenons. Both went off to live in California.

2018-04-13 09.09.25.jpg

TV Console

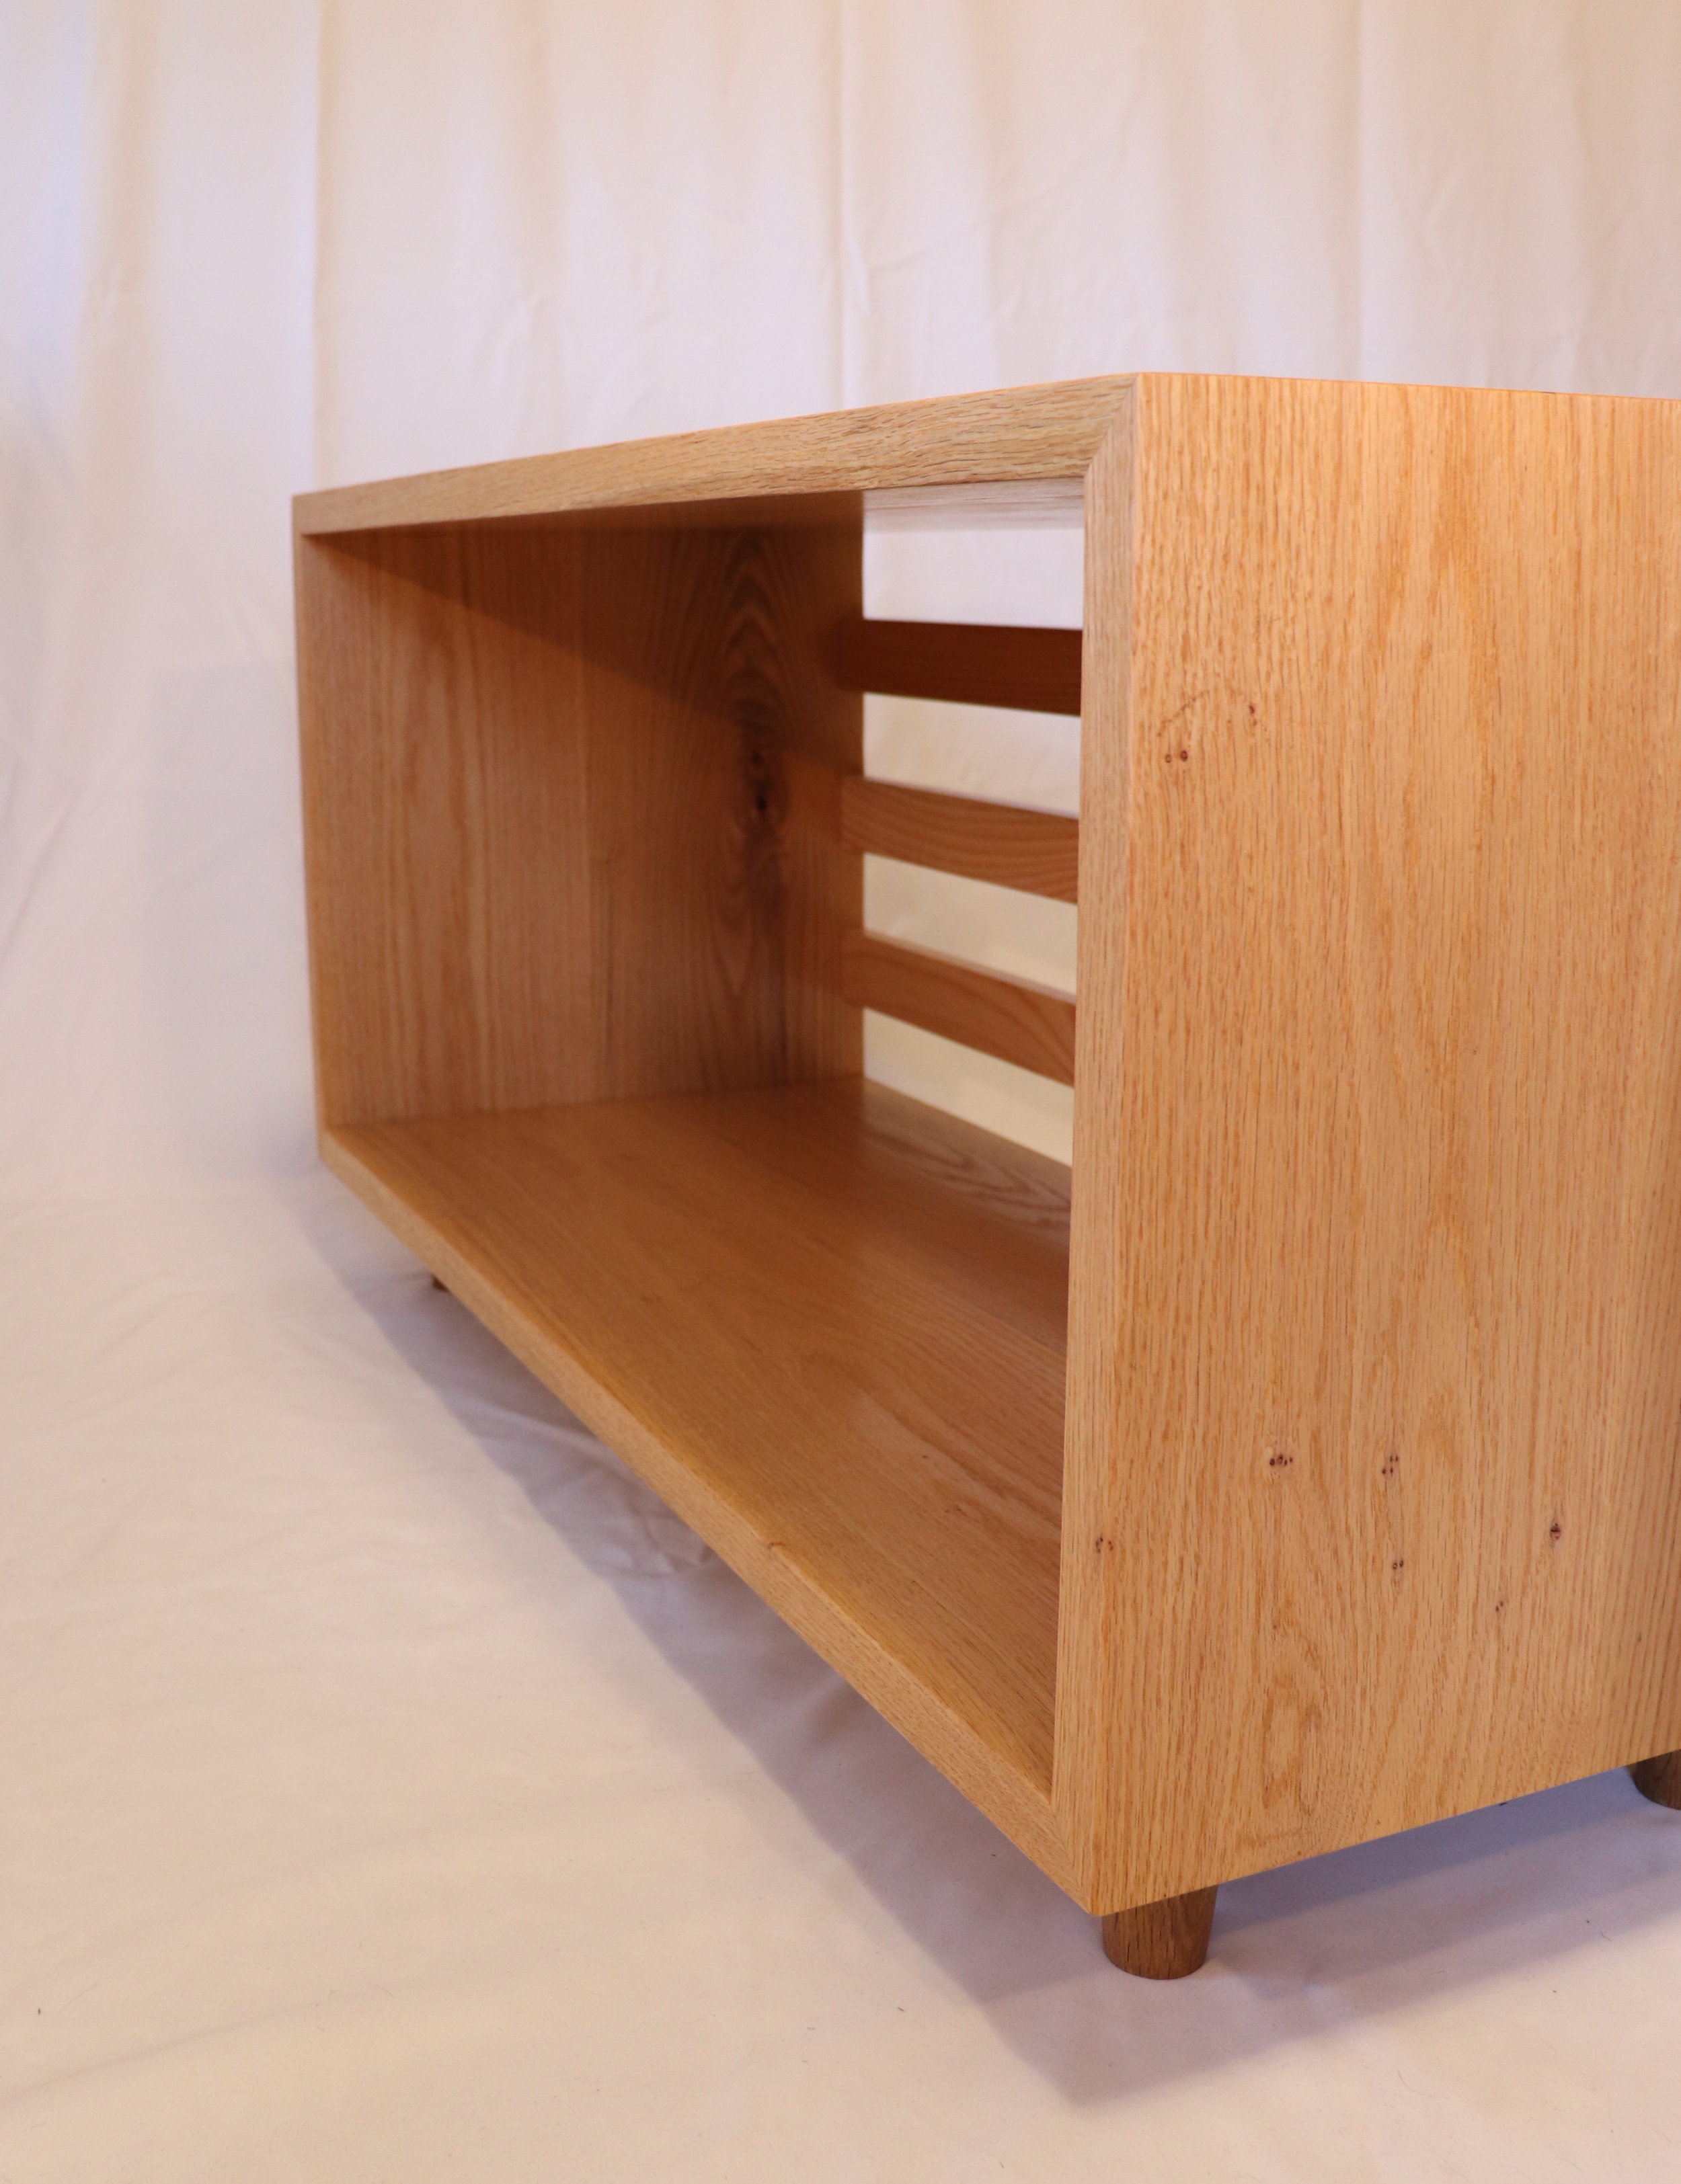
White oak, grain wrapped miters with hidden tenons, back slats attached with lap dovetails, small turned feet at the bottom. This was a quick and dirty project to get our TV off the floor!

2018-02-28 12.26.47.jpg

Hand Carved Sign

Carving is one of my absolute favorite ways to manipulate wood. This large outdoor sign lives at Sheldrake Point Winery and is a sister to a larger piece I made in 2015. Full story on that project here.

vintage room.jpg

Art Show

In May, my Fiddlehead Shelf was featured at MassArt, alongside many talented furniture makers from the Boston area.

NBSS_ACC2018_Instagram Image.jpg

Craft Show

In June, my Meditation Lamps were featured in NBSS’ annual student and alumni show. Thank you North Bennet!

IMG_1113.jpg

We moved in!
Seth Capista Furniture and I found our new shop space and began setting up. We bought machinery, built walls and outfitted the space. This is a work in progress!

IMG_1433.jpg

Tool Cabinet

Large hanging cabinet for my hand tools - Maple, box joint case construction, fame-and-panel doors.

IMG_1278.JPG

Kitchen Renovation

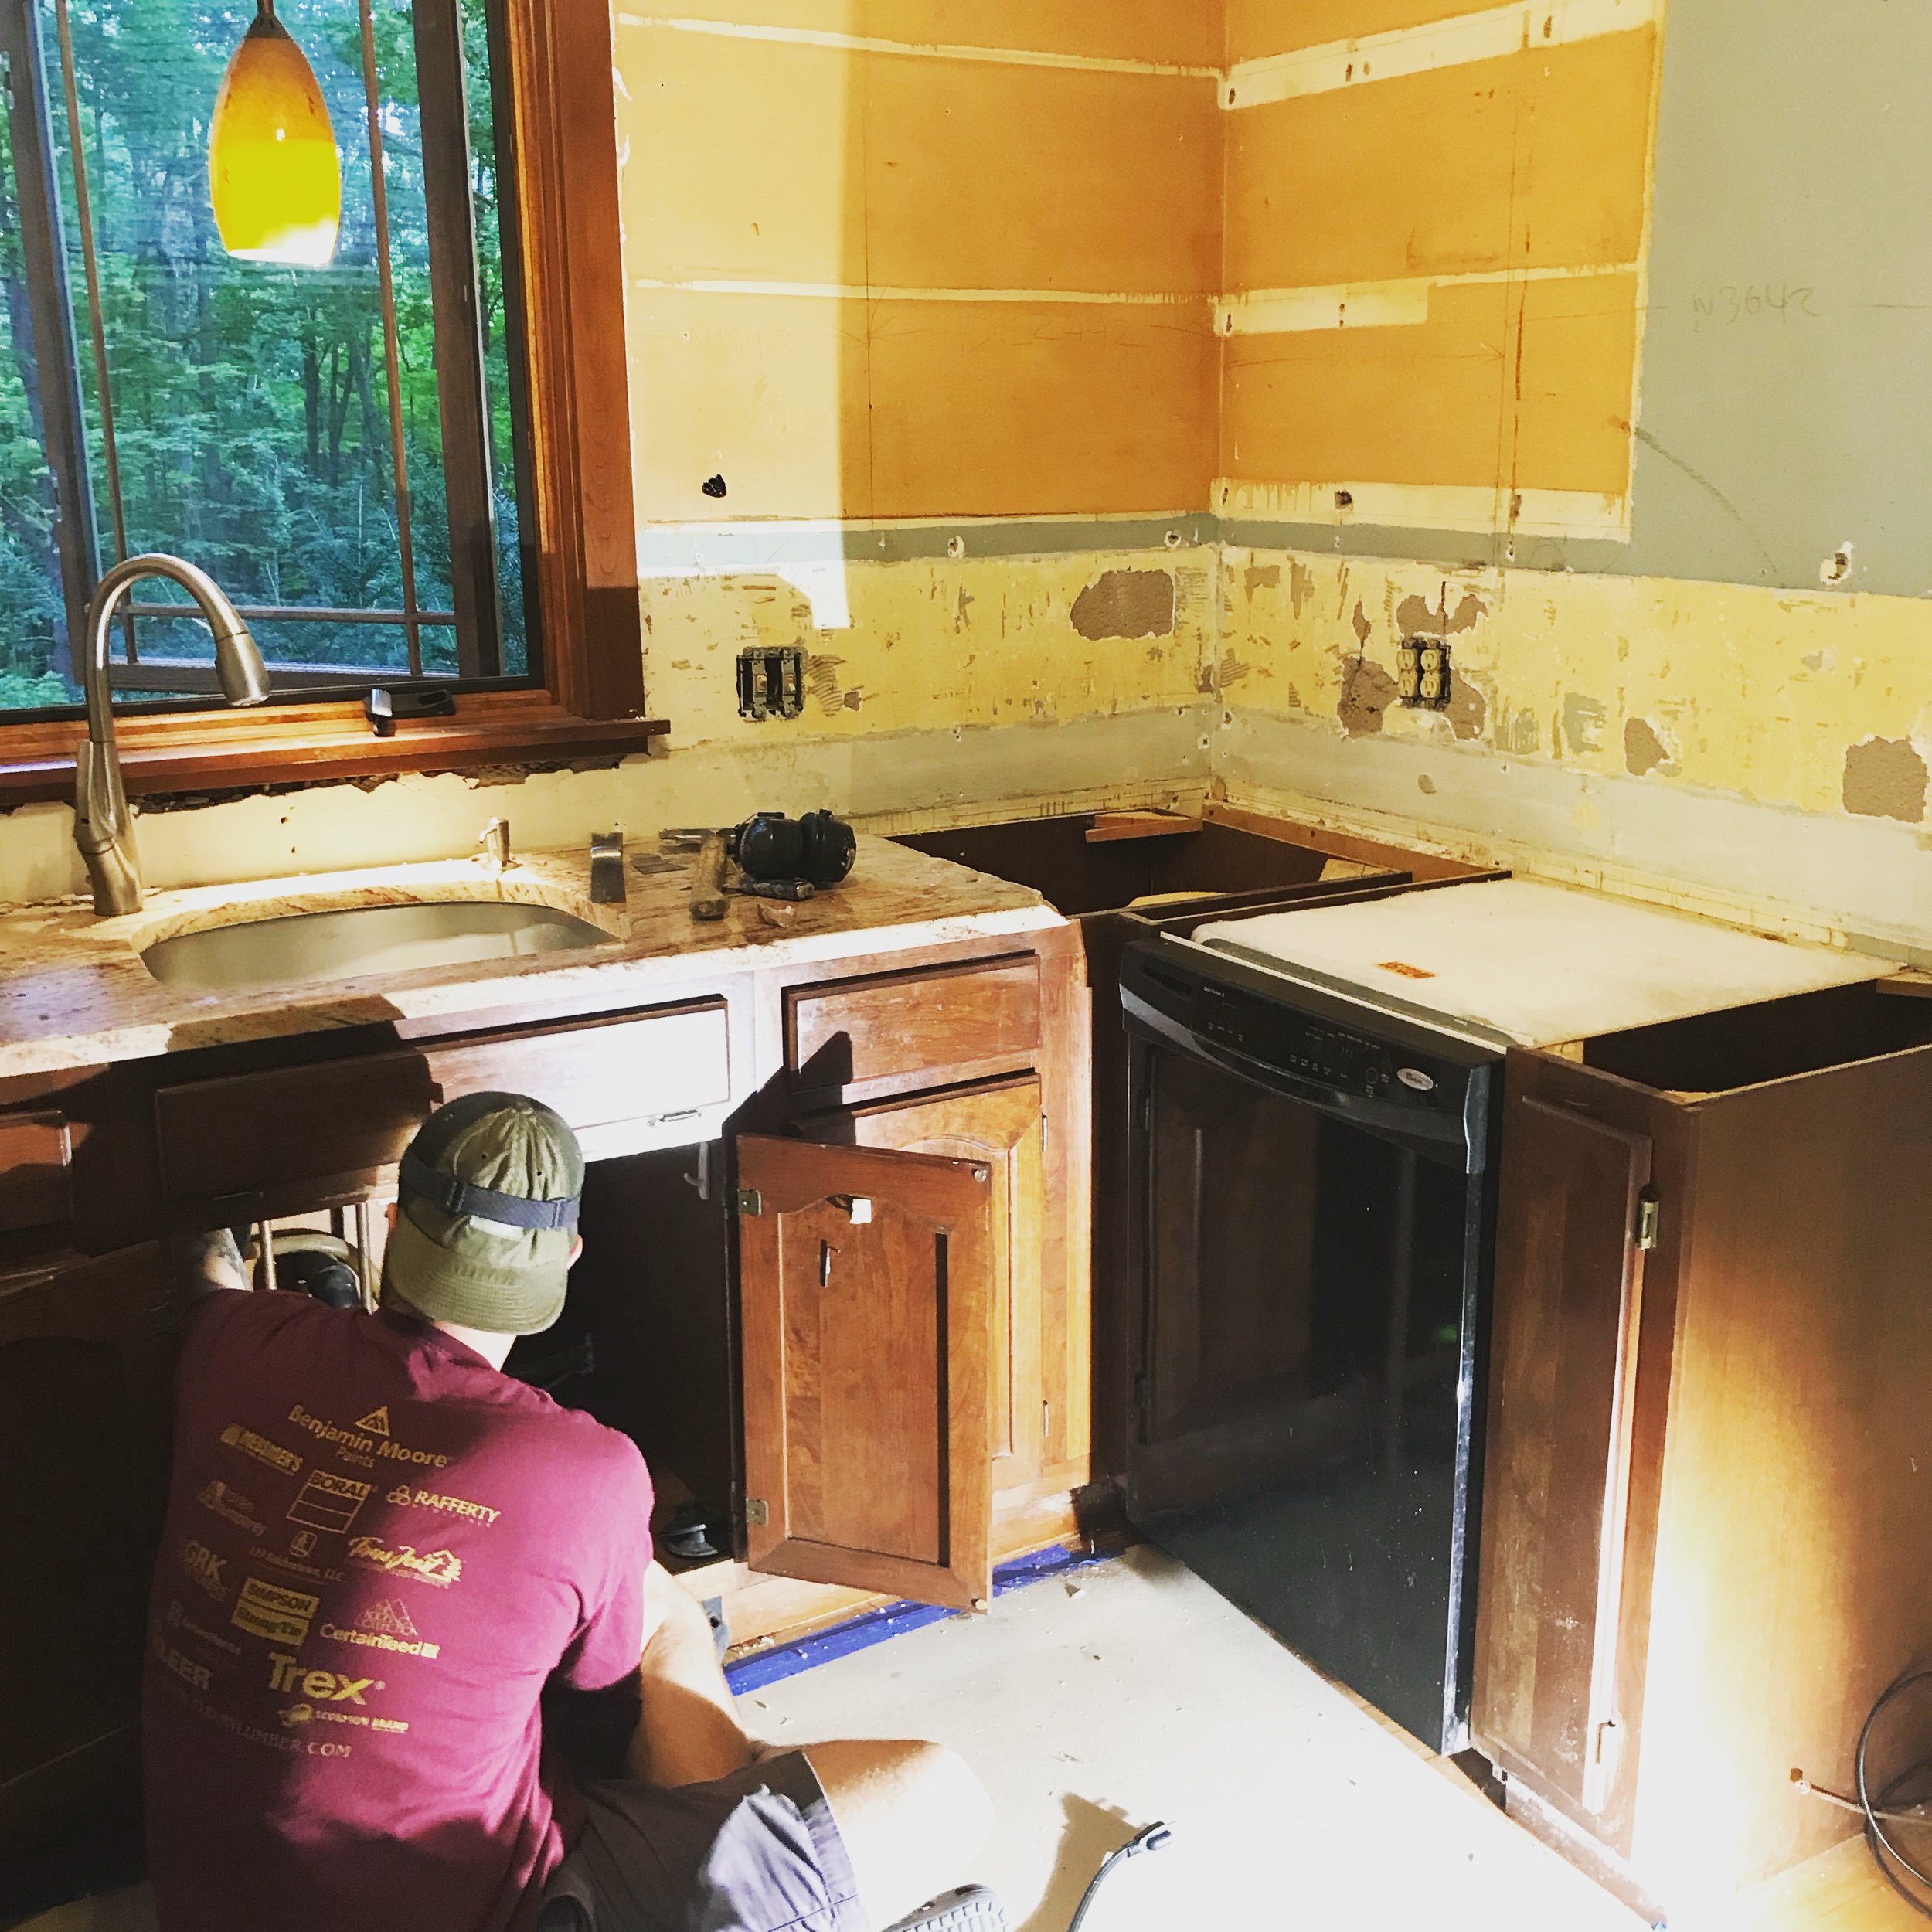
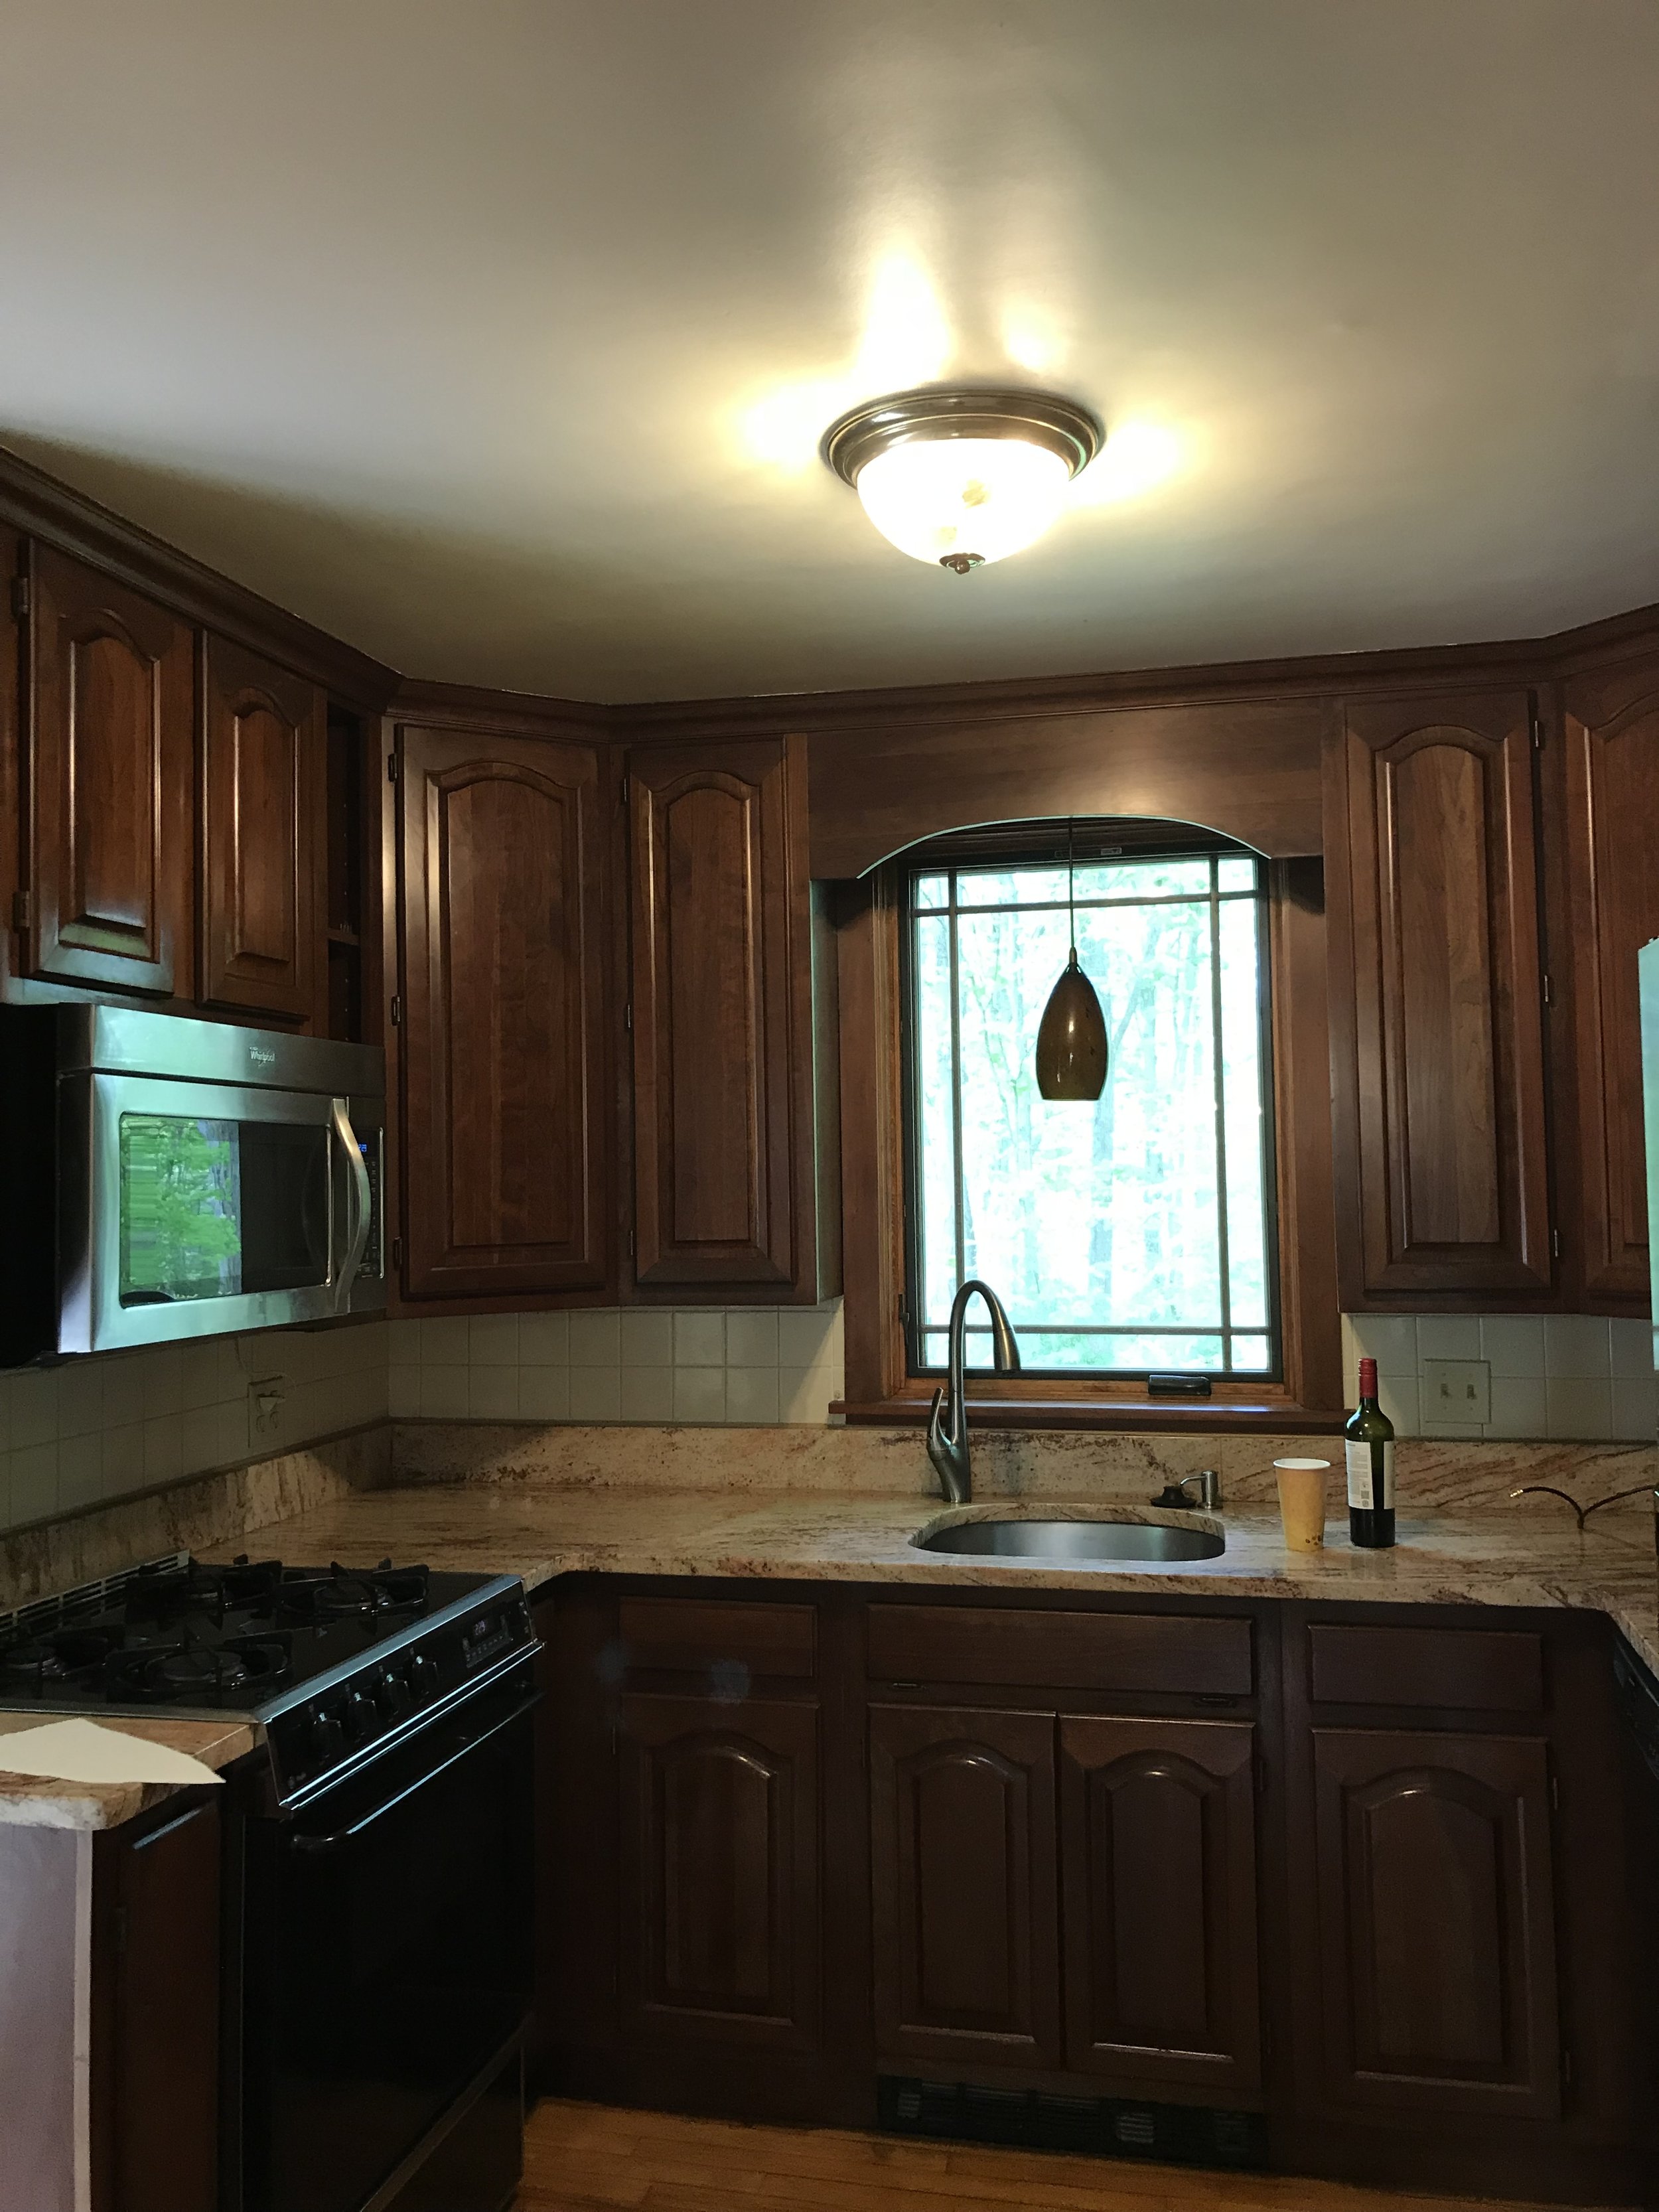
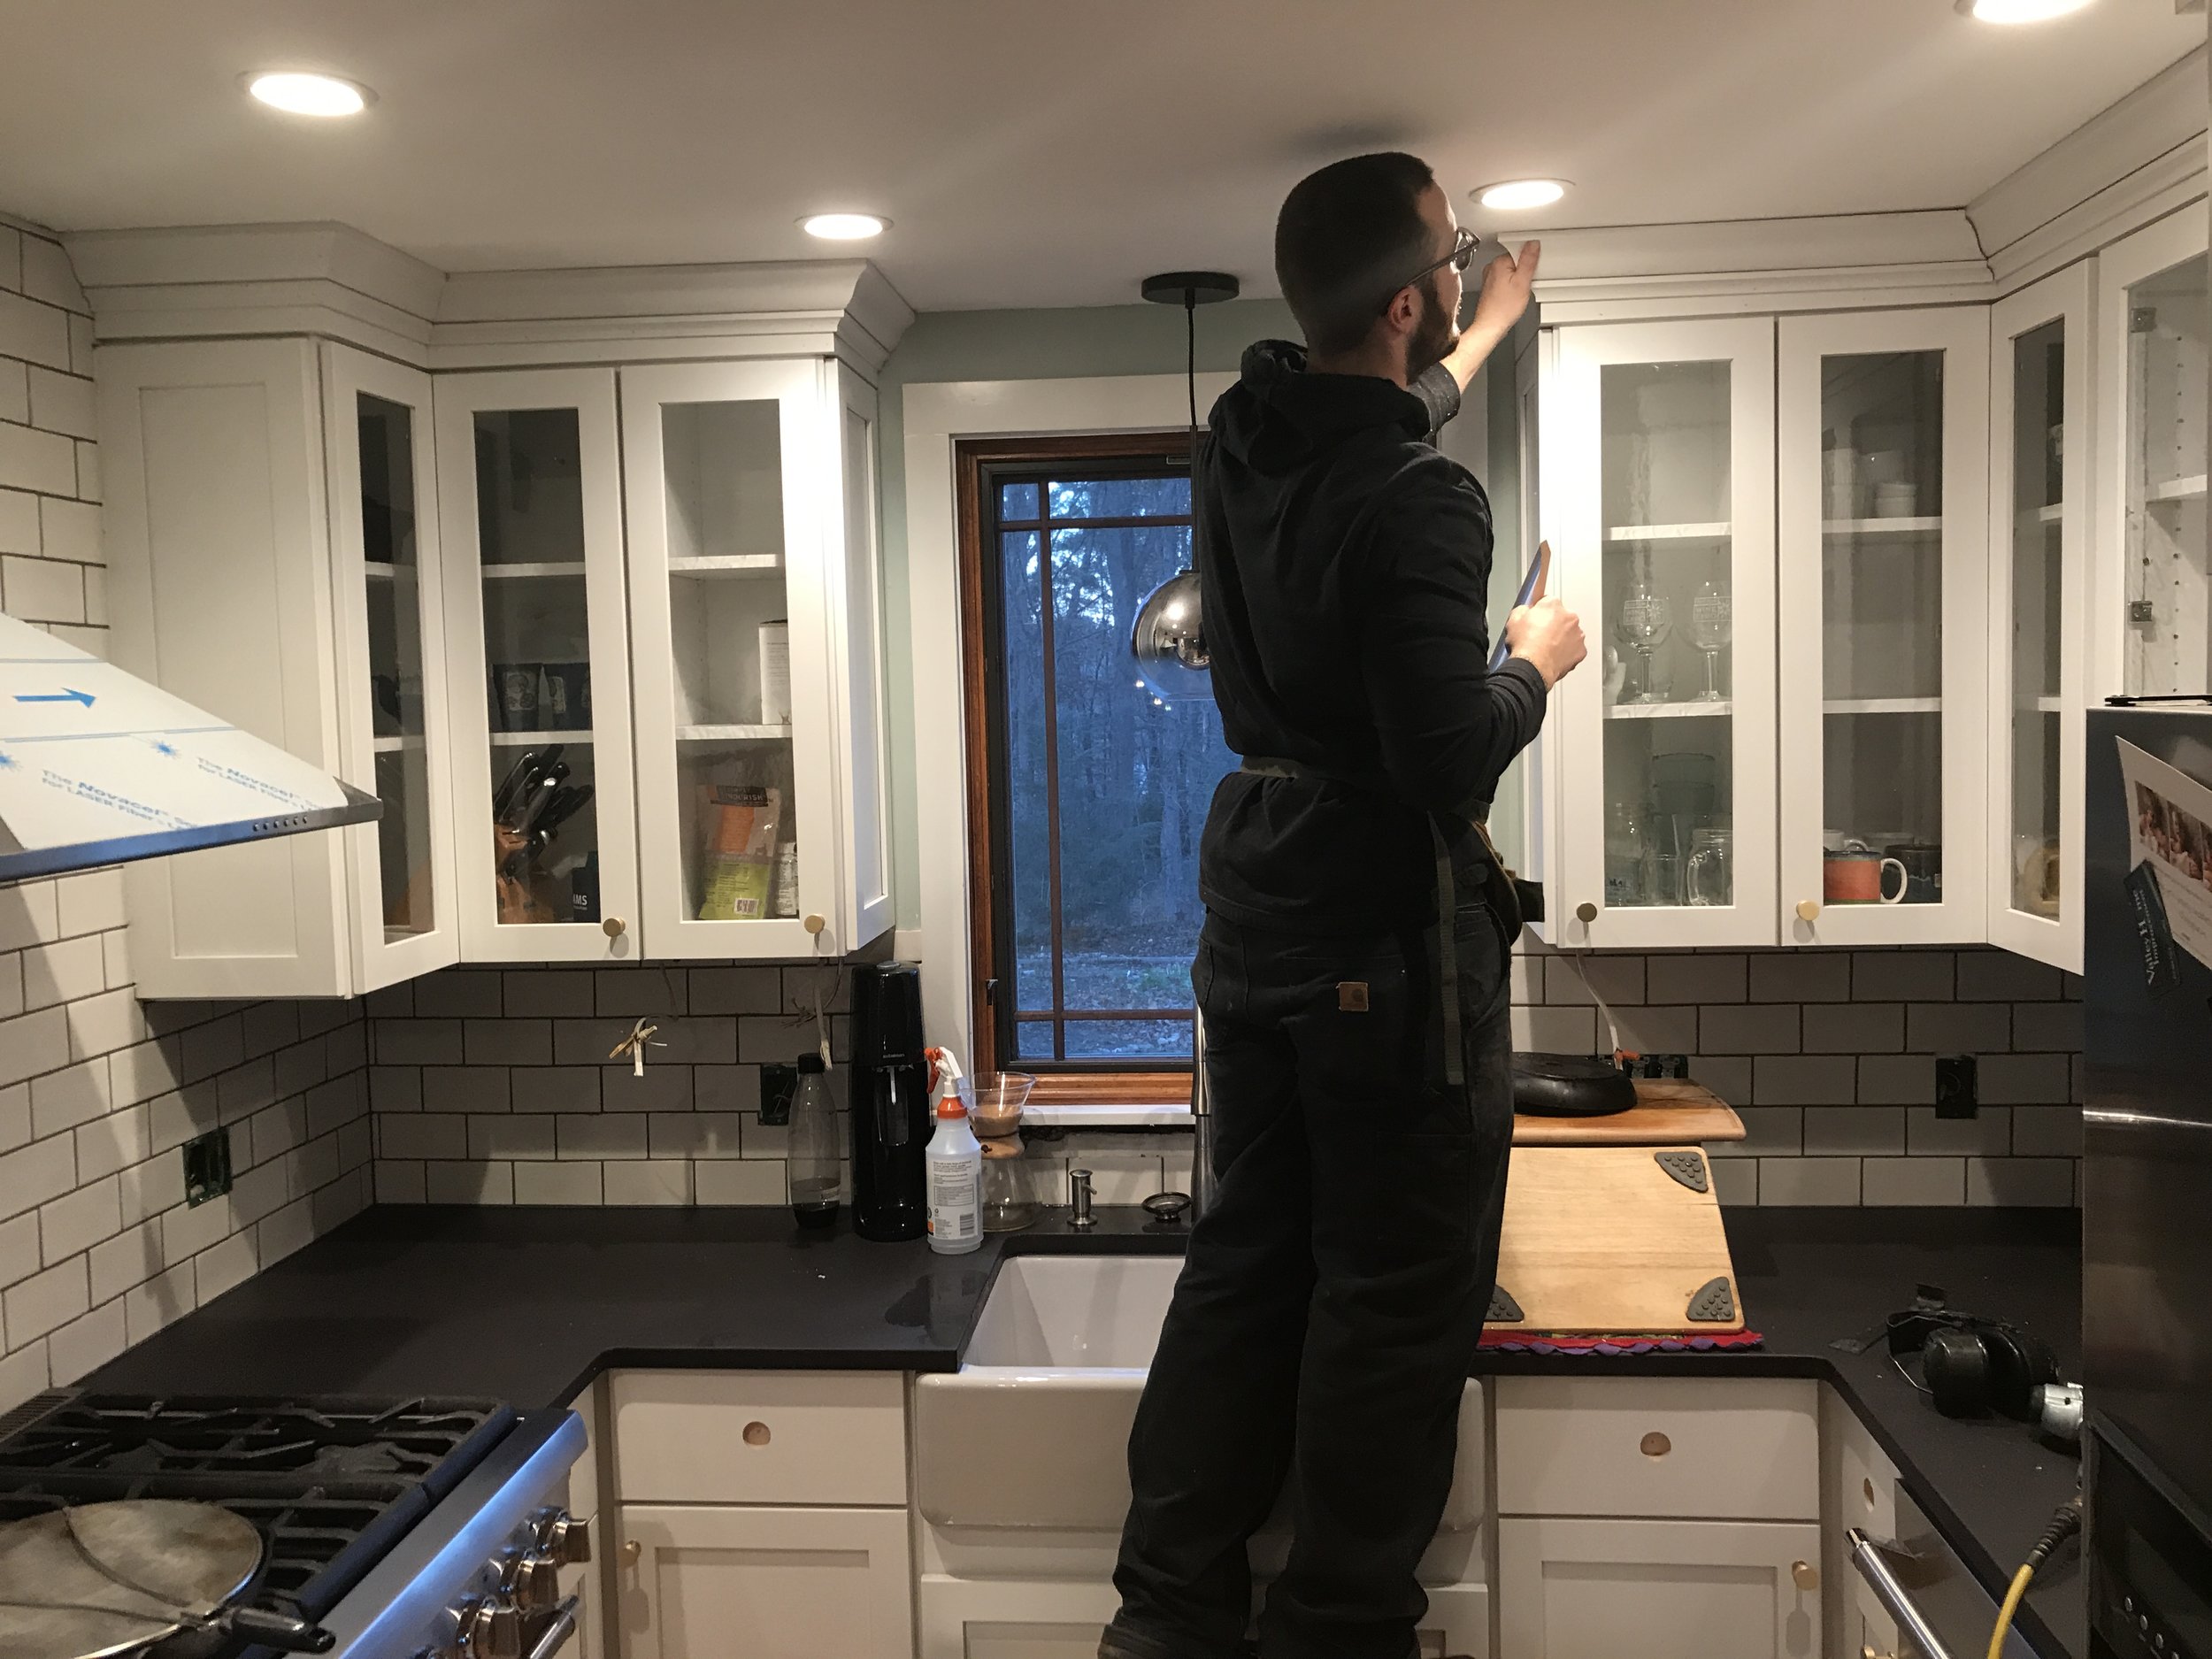
Griffin and I completely renovated our kitchen. New appliances, new cabinets, new tile, new electrical. Glad that’s over.

7520764848_IMG_1118.JPG

Shop Dog

Leeloo came to us in September as our second resident shop dog.

IMG_1634.JPG

Open House

We hosted a busy open house in October where we invited community members to see our space and view some of our furniture.

10788294928_IMG_2254.JPG

Holiday Gifts

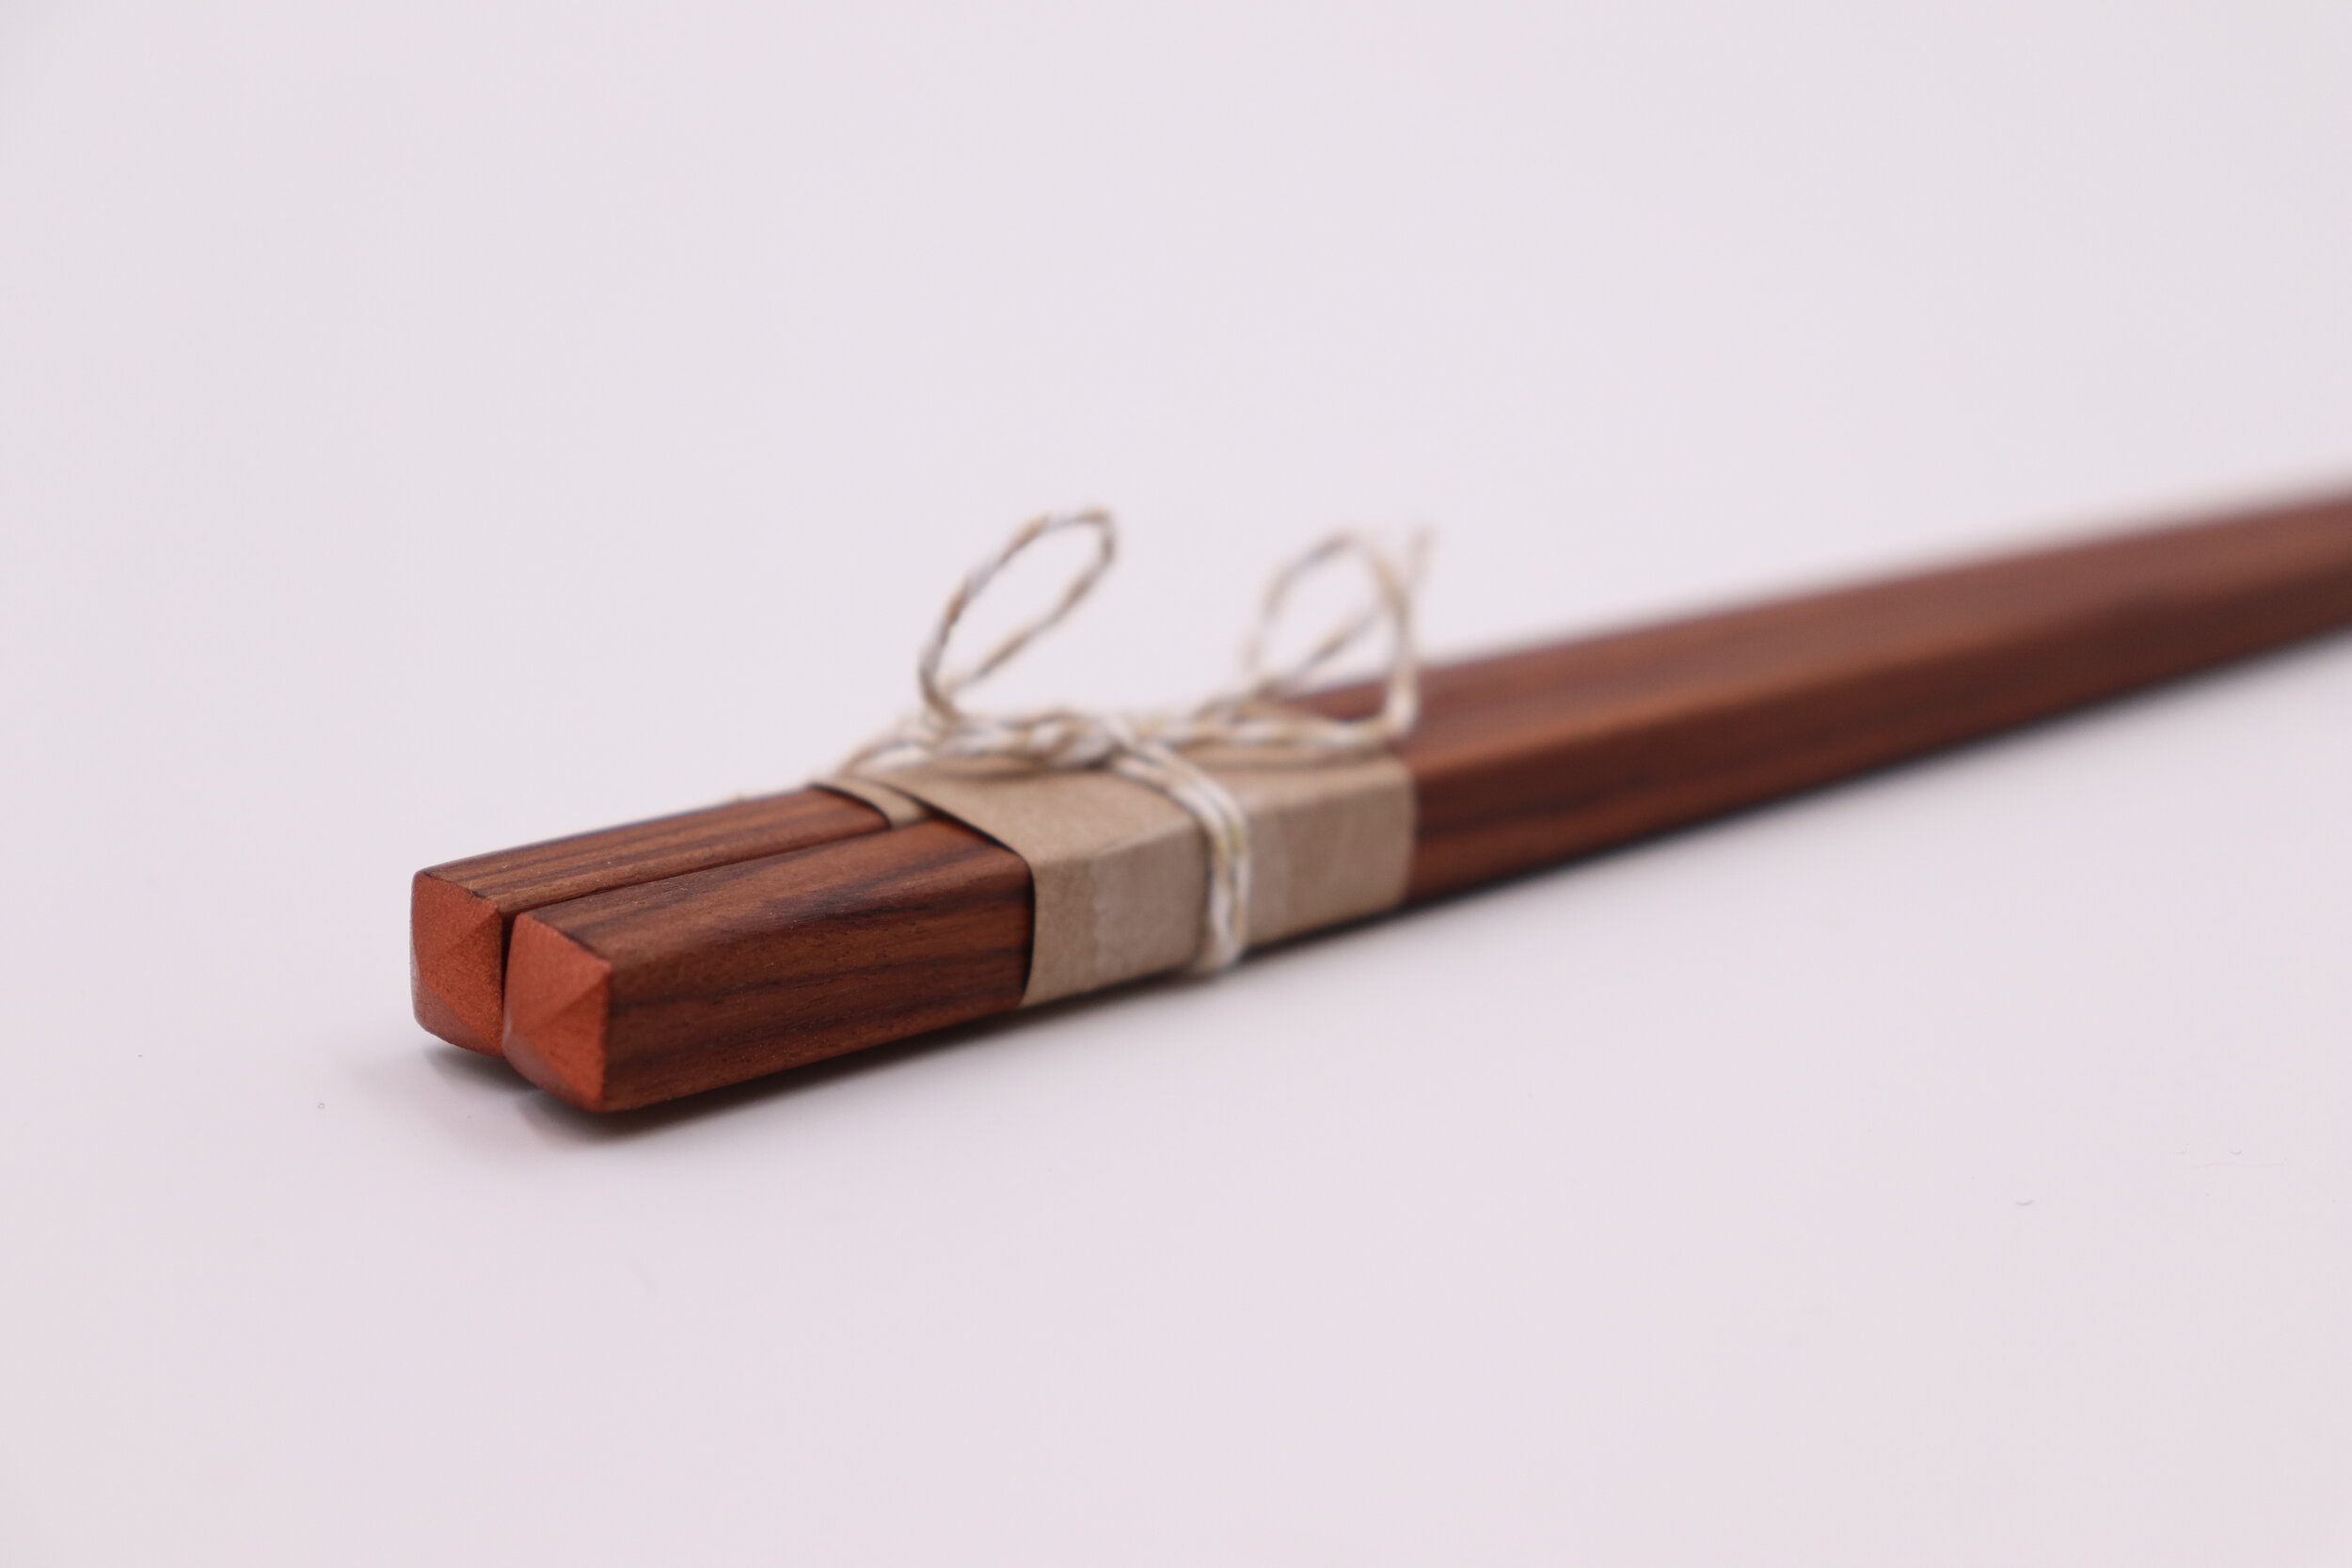
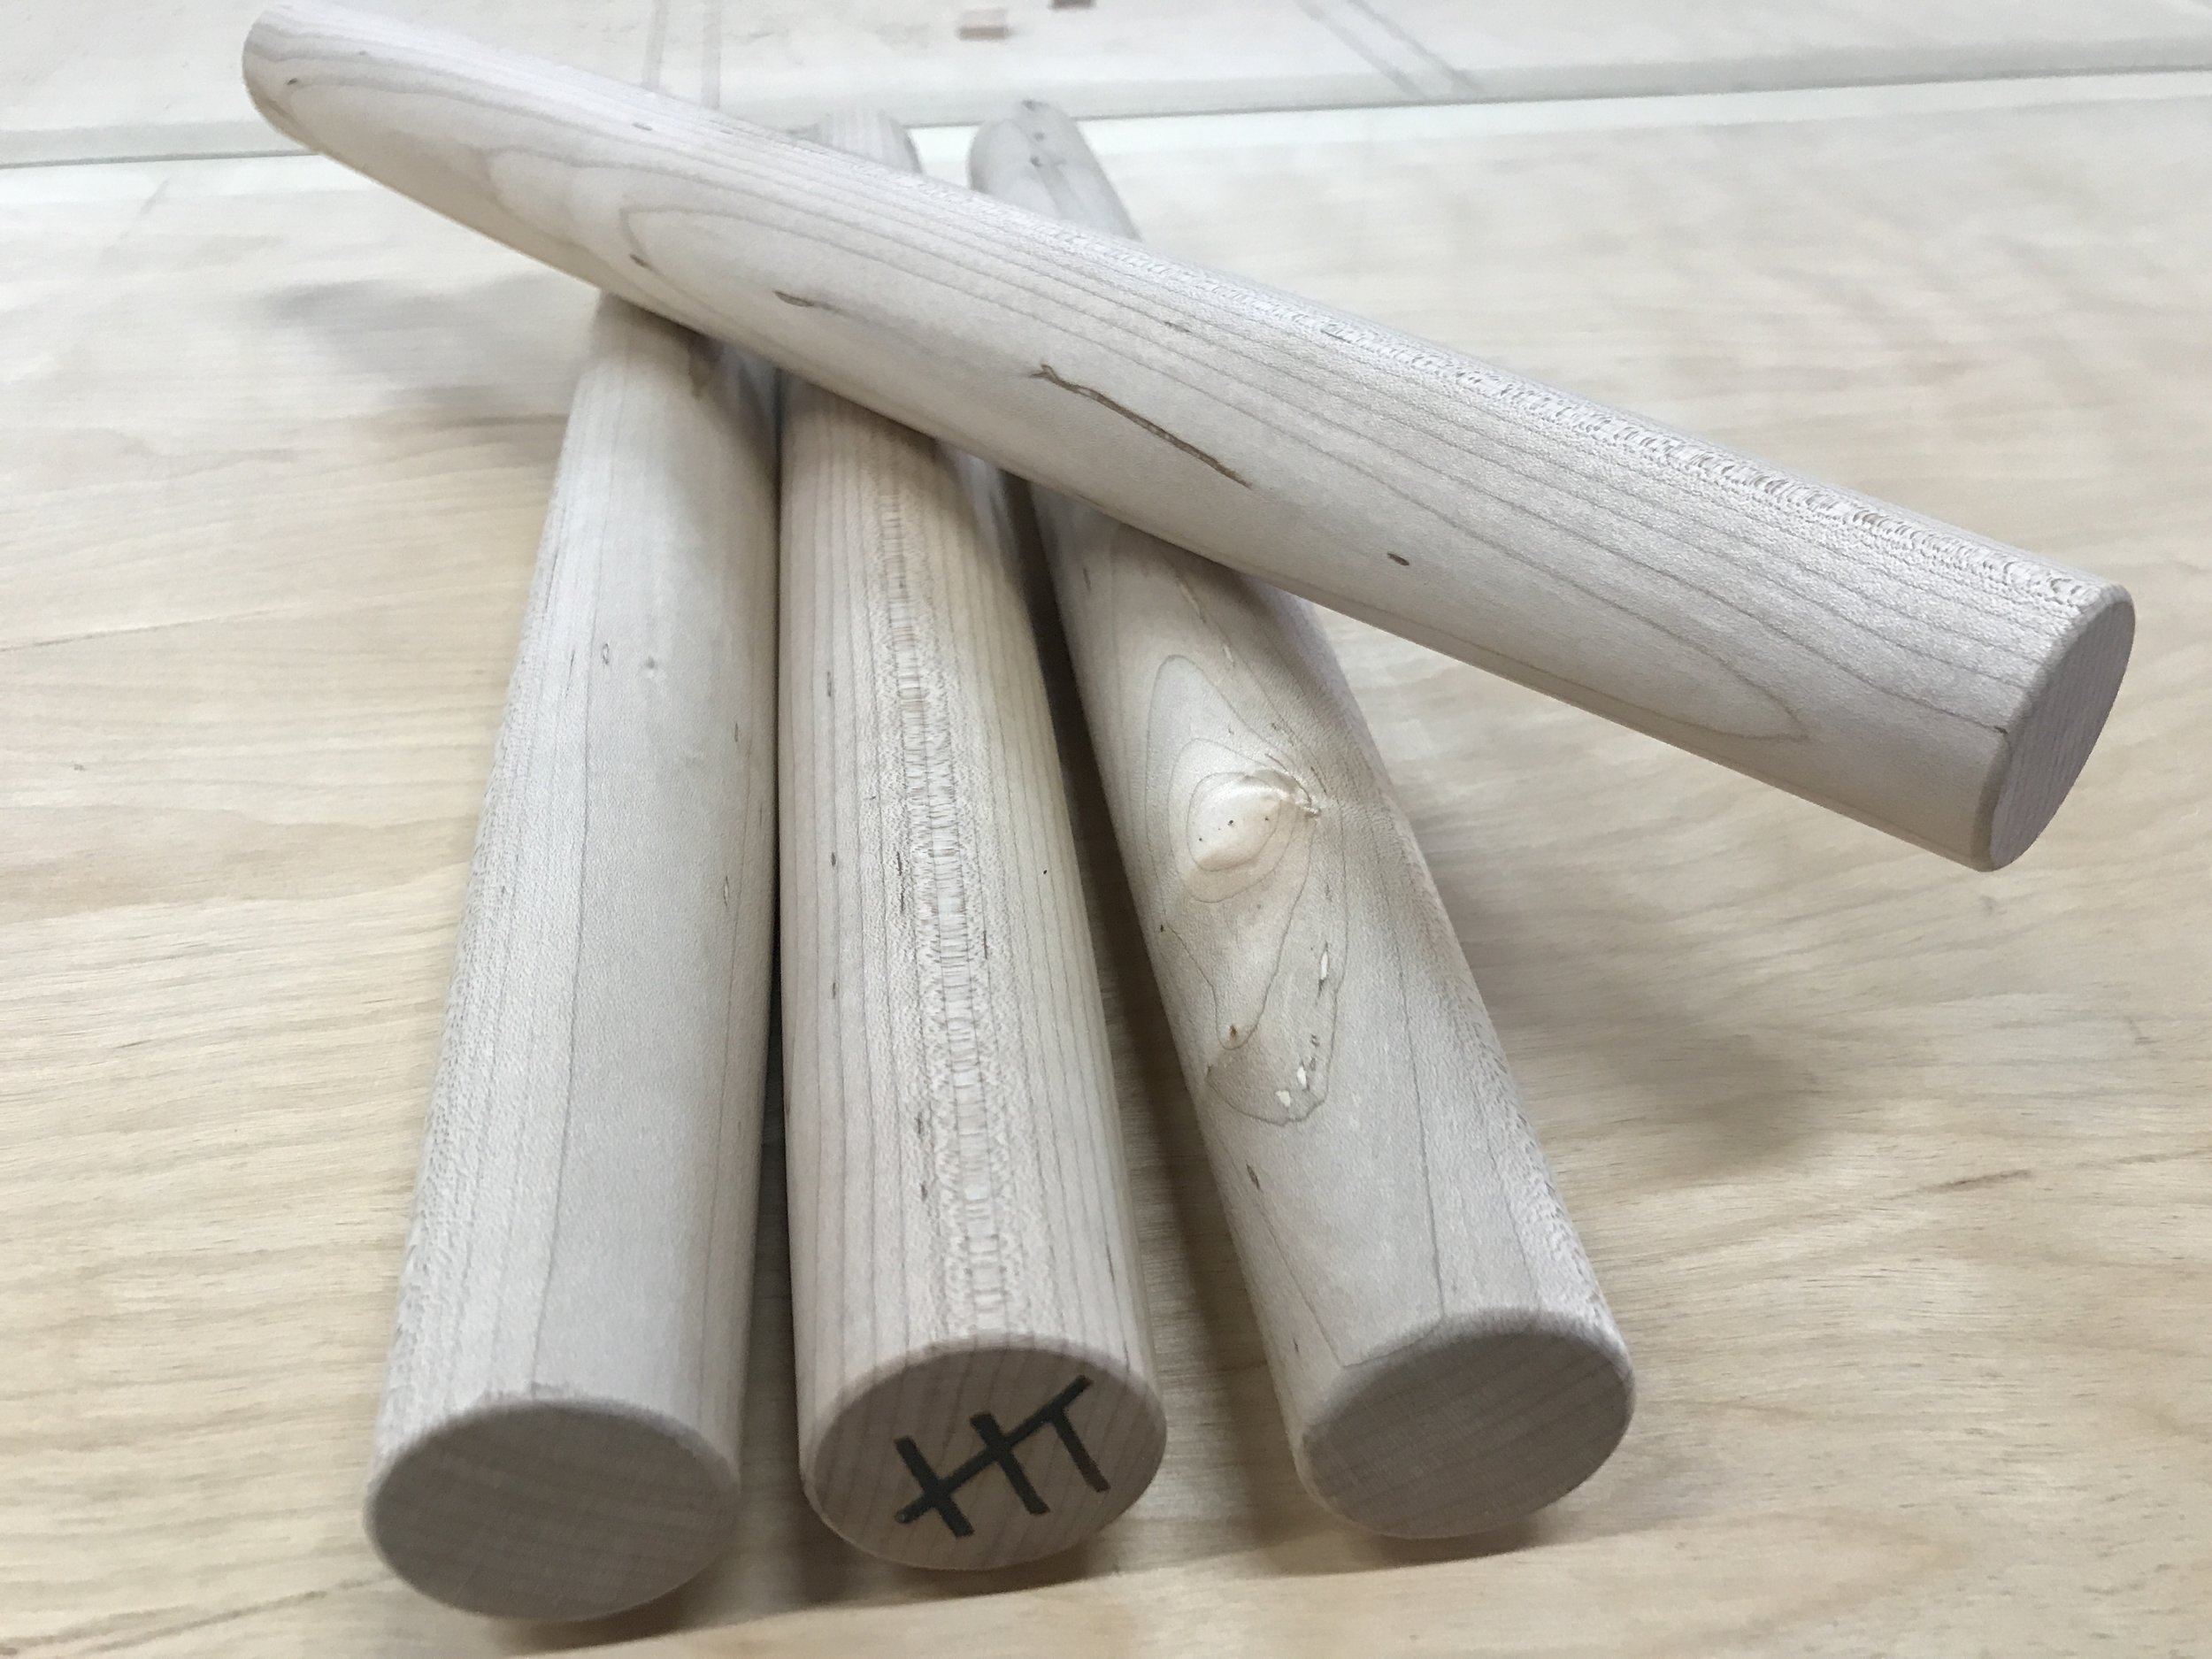
I closed out the year with some smaller items for sale. Hand turned, burned and painted Christmas tree ornaments, cherry cheese boards, rosewood handled screwdrivers and maple rolling pins.


That’s a wrap! I am still completing a few unfinished projects from 2018 that didn’t make it onto the list. Always good to have works in progress, right? I am looking forward to making more furniture in 2019! If you’d like to commission a special piece, contact me today.

Lasso Stool

Lasso pt 1

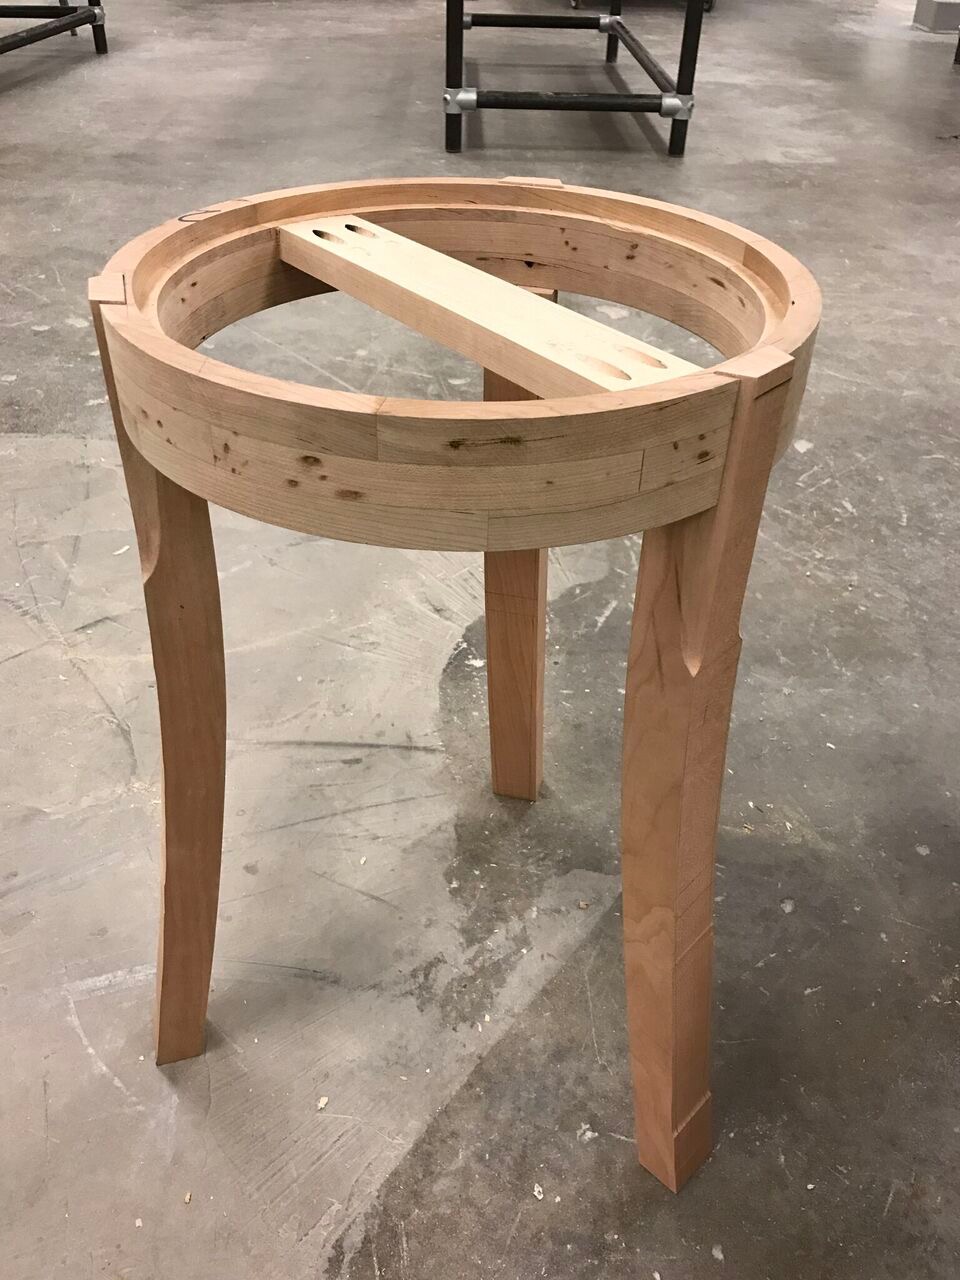
Cherry, plywood, leather, upholstery, tung oil.

Lasso pt 2

Poplar, plywood, leather, upholstery, red and black stain, tung oil.

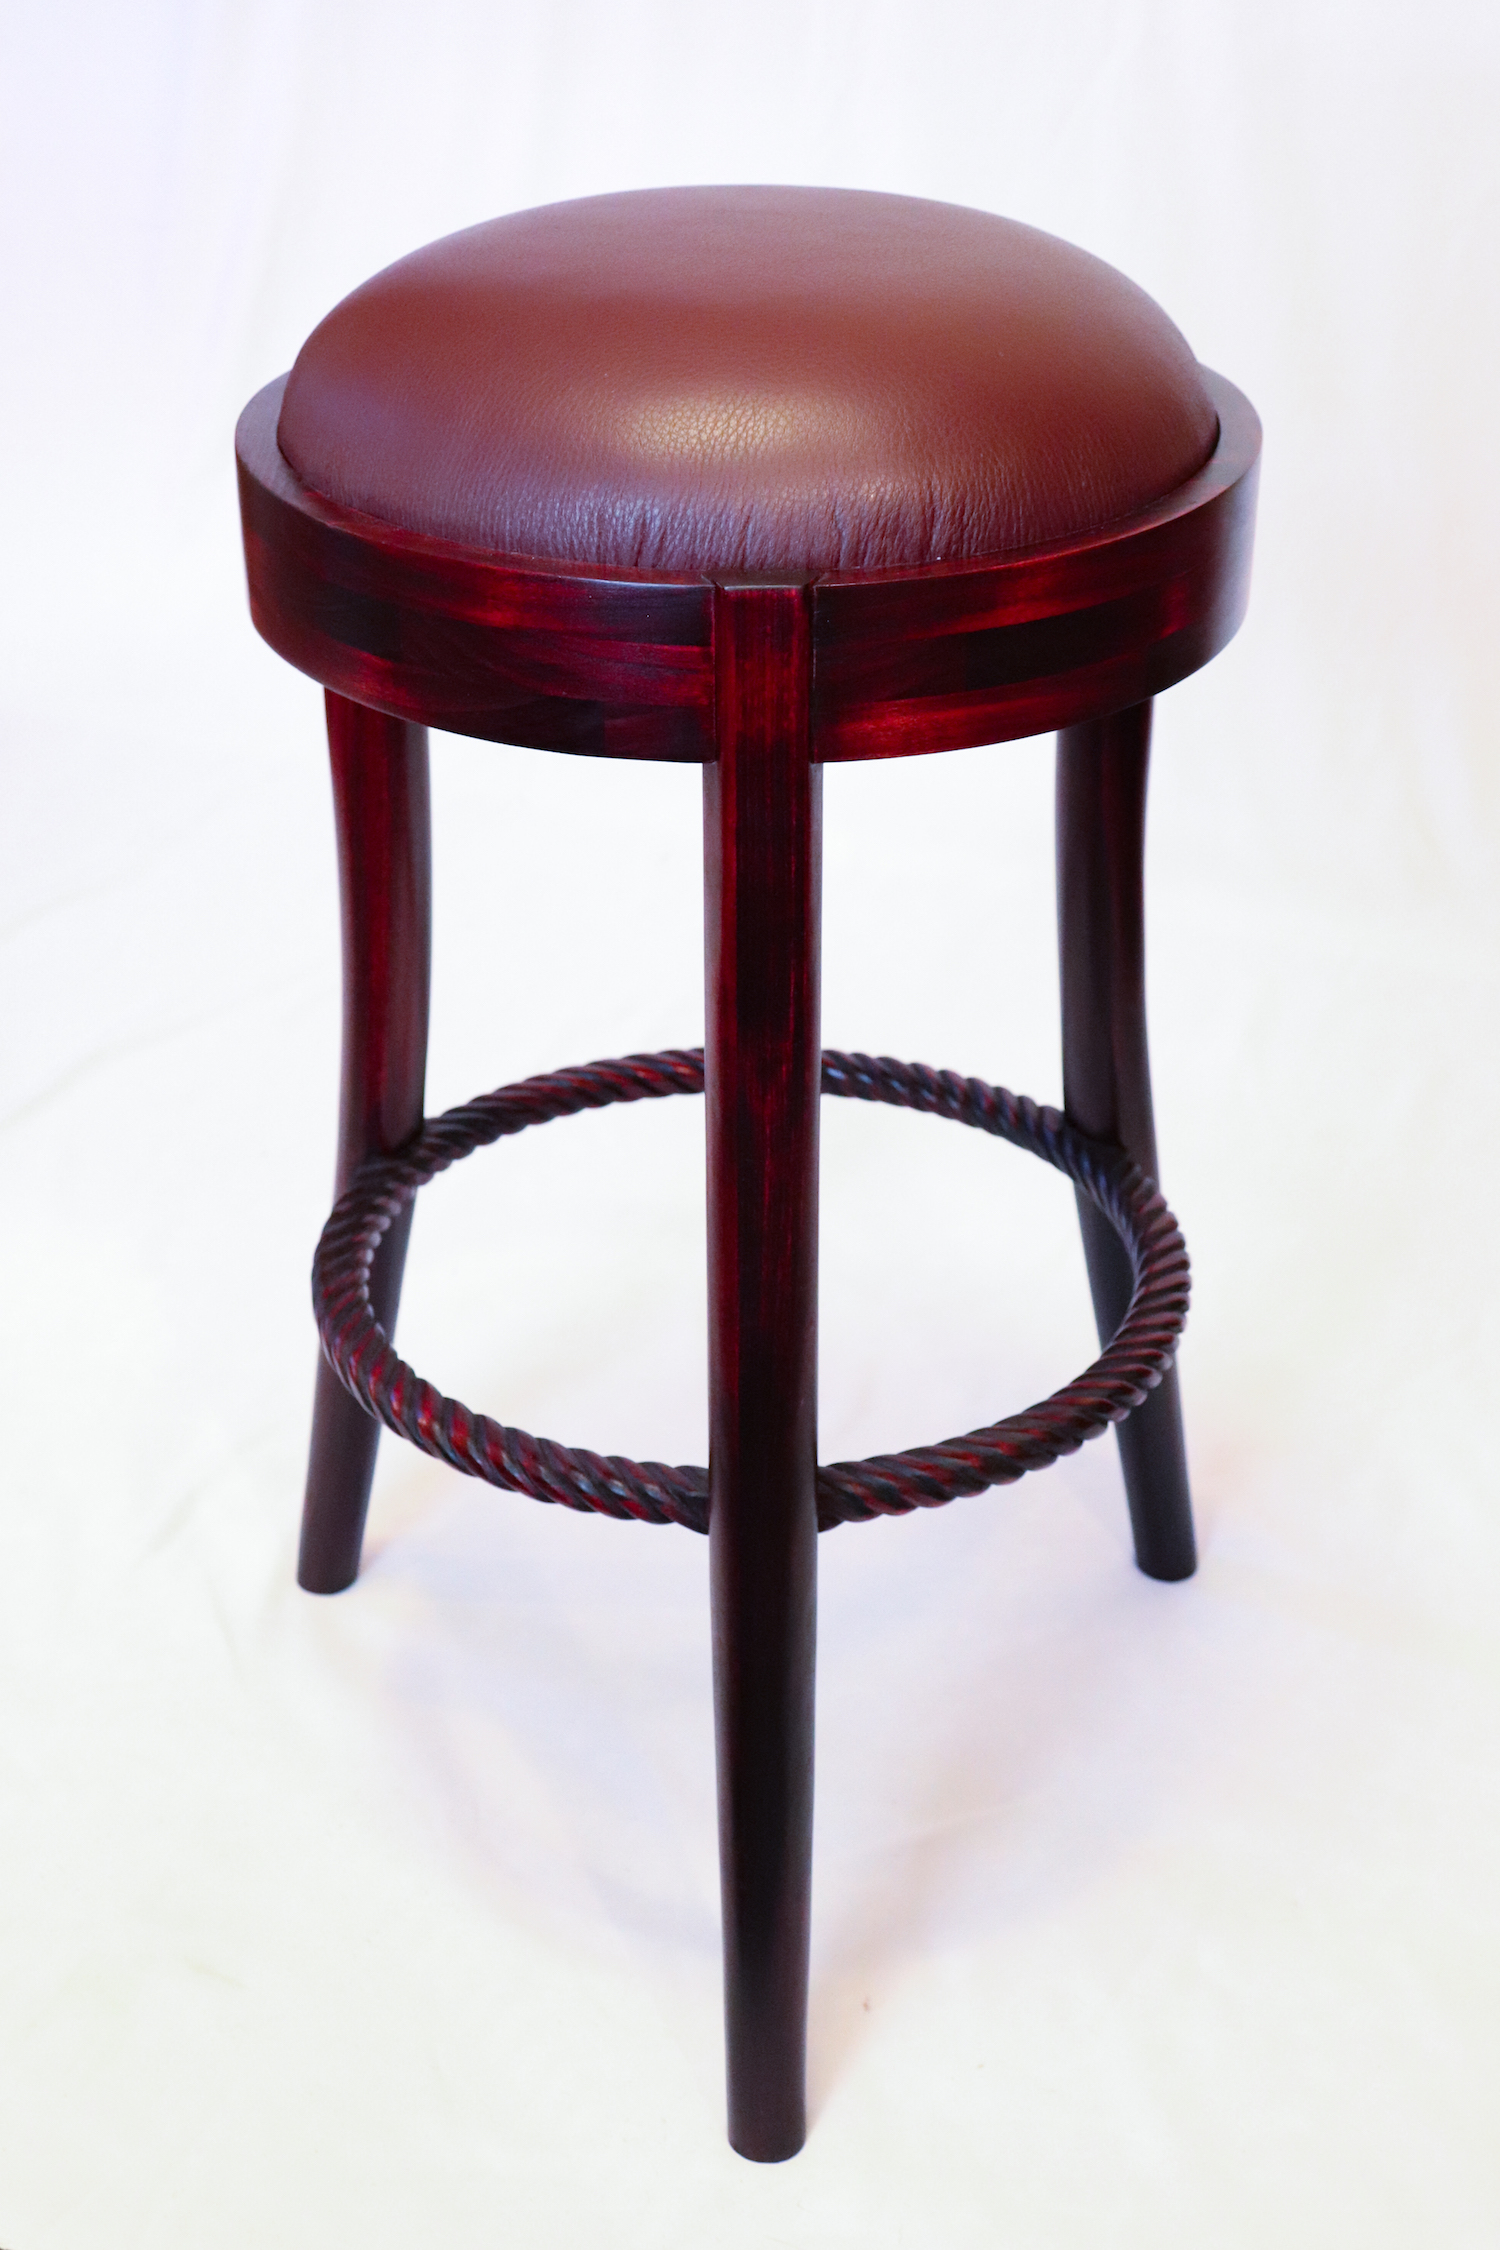
These stools were made at the Massachusetts College of Art and Design in the fall of 2016. I wanted to make a piece of furniture involving curved components, which was something I had little experience with at the time. Although steam bending wasn’t used in this project, I was inspired by the furniture makers who pioneered the technique in the 1800’s. German-Austrian cabinet maker Michael Thonet developed the steam bending technique which allowed him to make strong and durable chairs that appeared delicate and light weight. Below is a photograph taken from an old product catalog from his furniture company, Gebruder Thonet.

unspecified (3).jpg

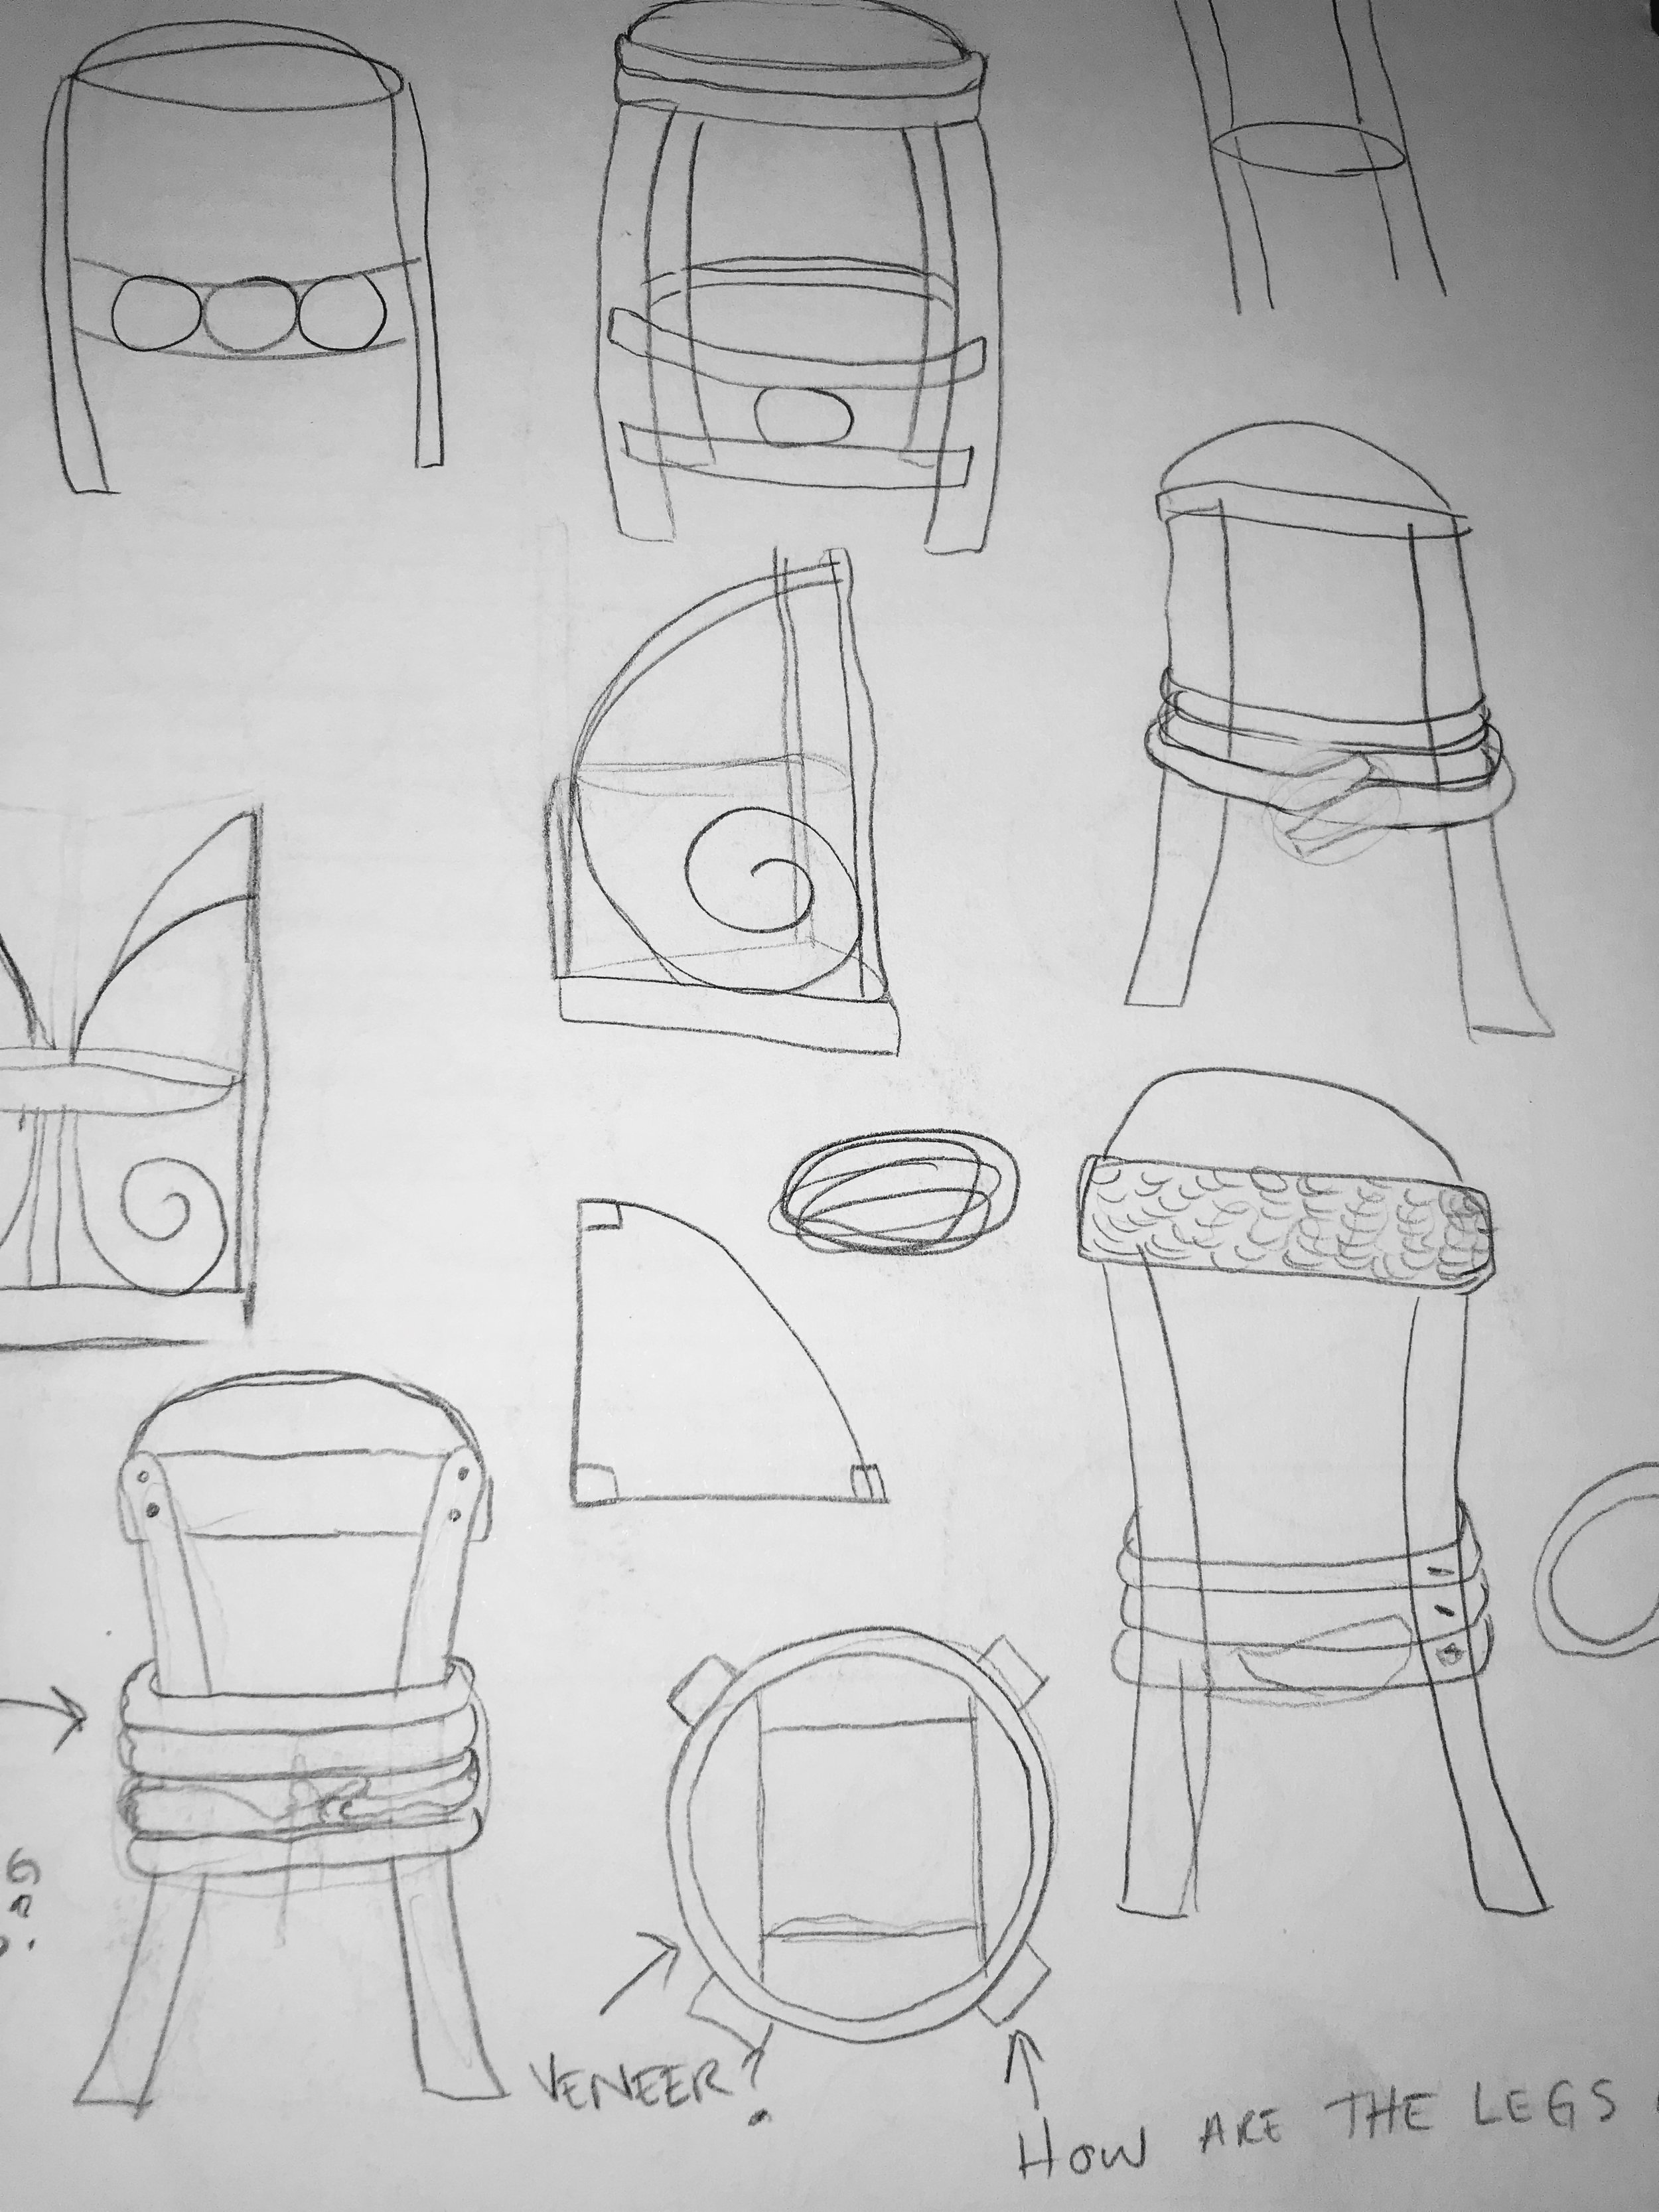
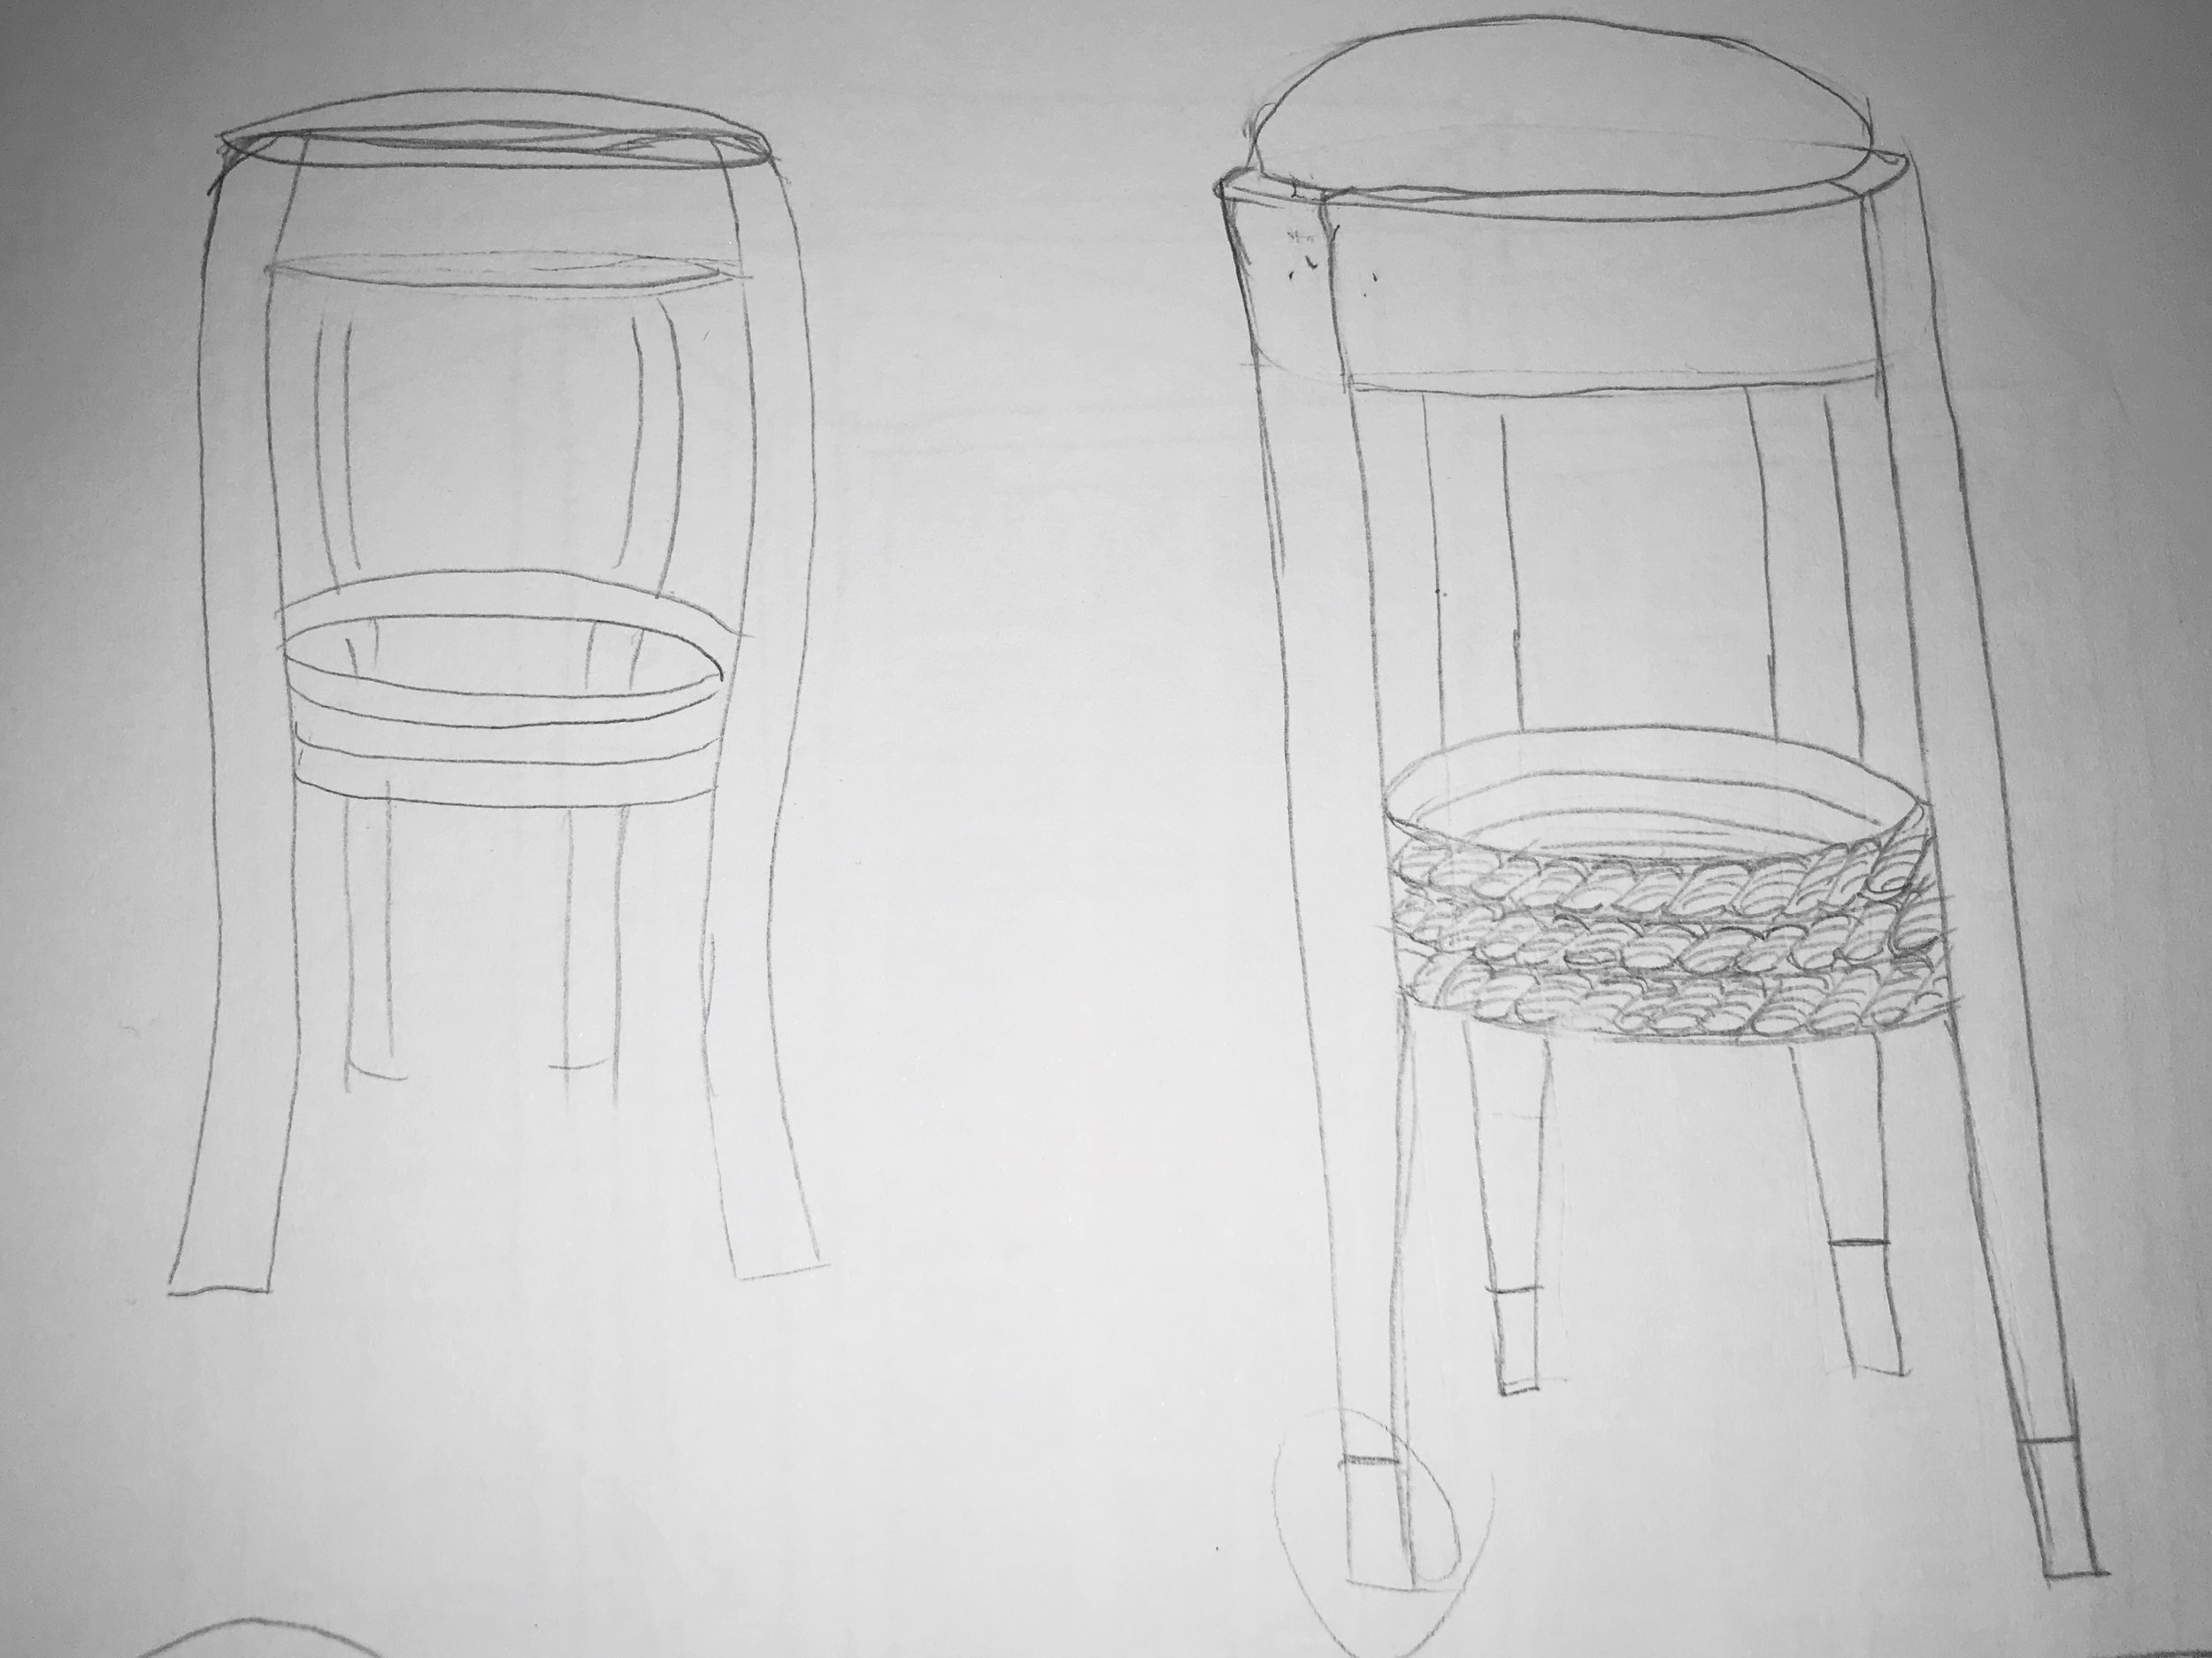
Rough drawings illustrate the evolution of concept. I wanted to incorporate curved components, an upholstered seat and a sculptural, carved foot rail. Full scale drawings were made after initial concept drawings.

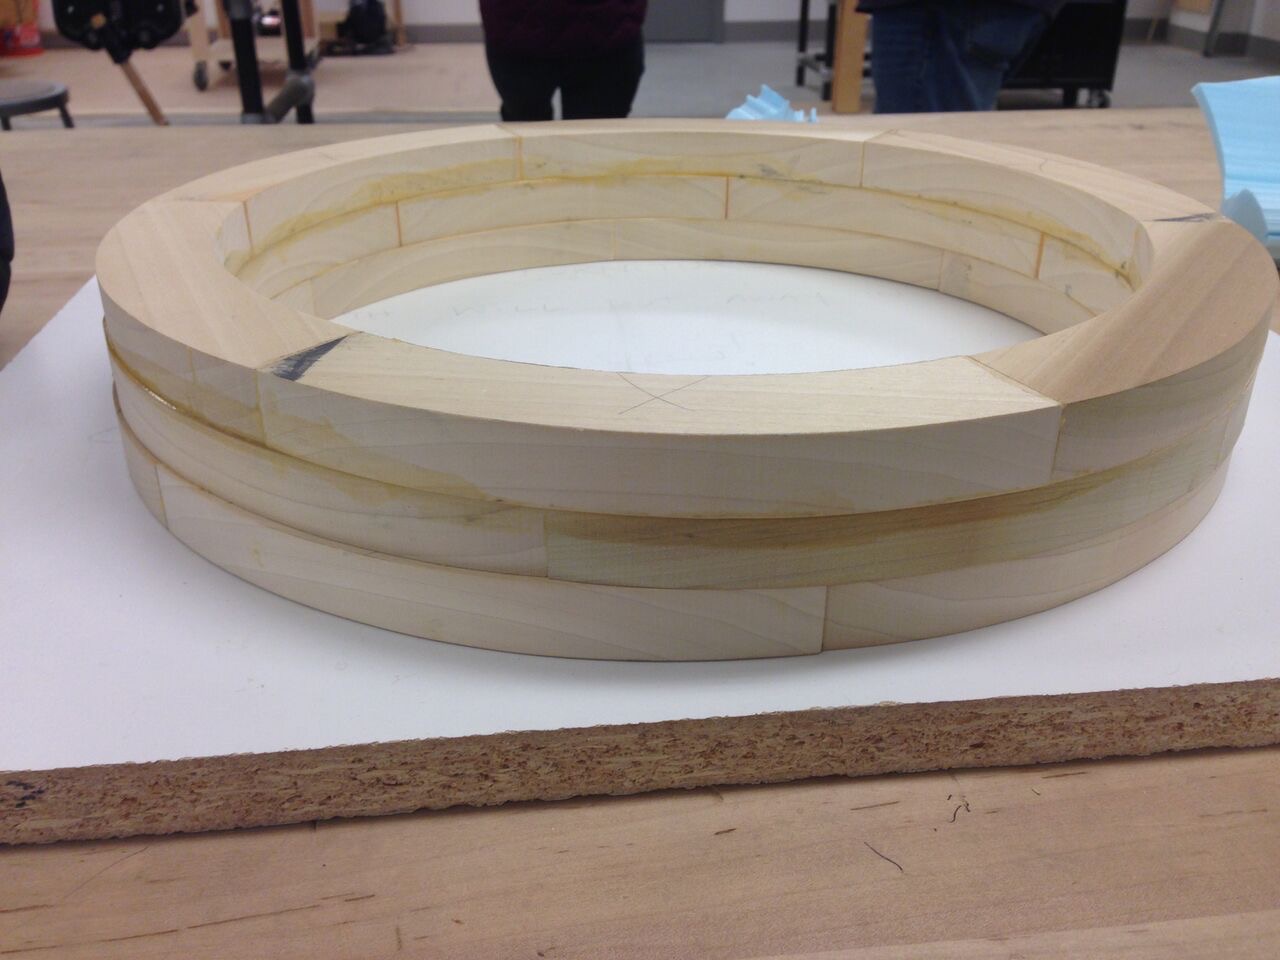
The seat was made by cutting wood pieces into circular segments and gluing them together, offset. All of the long grain glue surface creates an extremely strong bond. This technique is called brick laying and is commonly used to make traditional bowed front furniture pieces, which are covered in exotic veneers to mask the glue lines.

unspecified (3).jpg

I cleaned up the edges with a flush trim router bit, added a rabbet on the top and attached a cross piece to secure the seat into place.

unspecified (4).jpg
unspecified (5).jpg

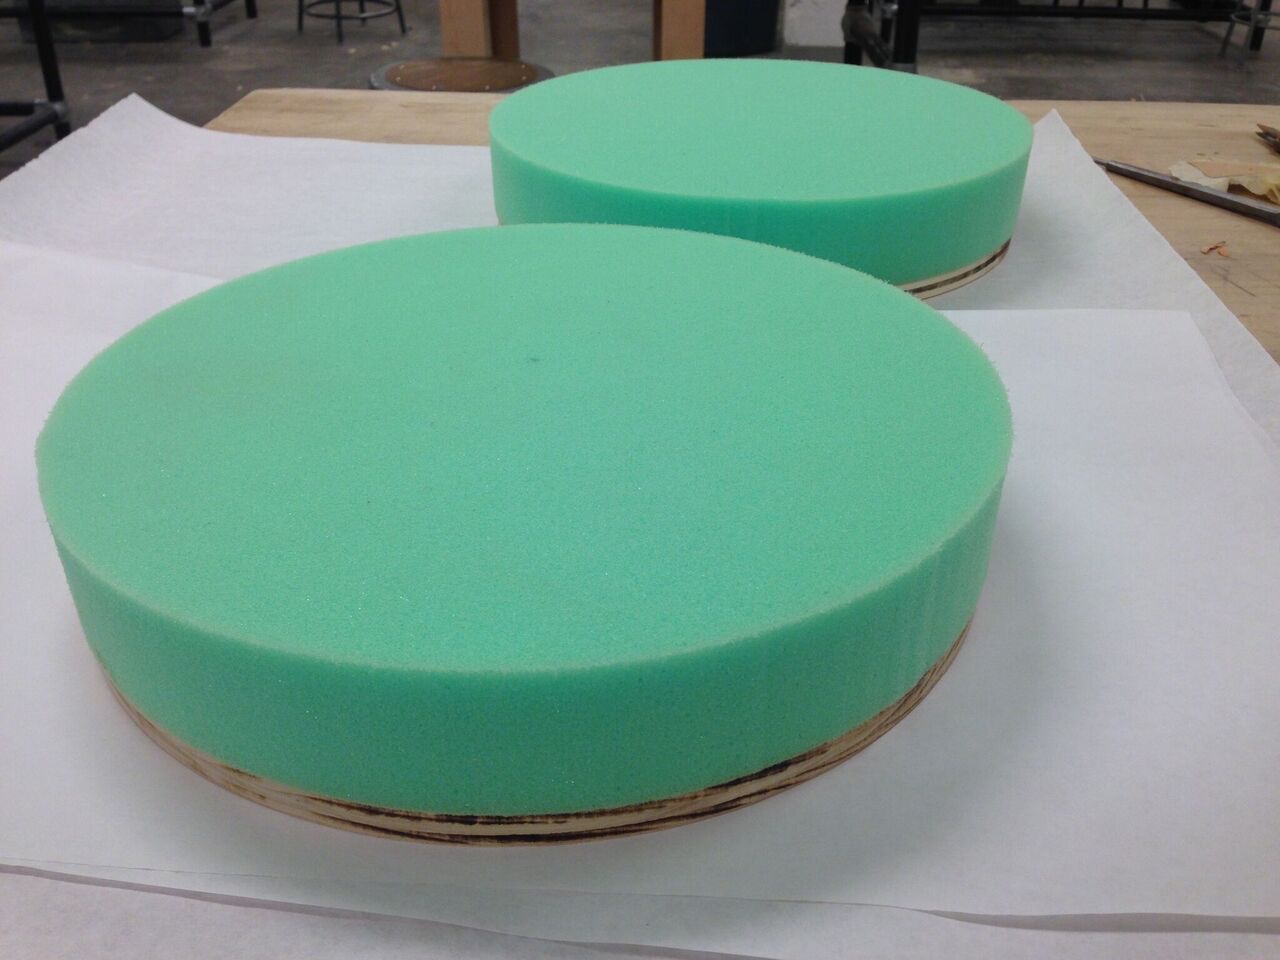
When fitting my plywood seat to the frame, I gave myself about an 1/8” gap around the edges to account for the upholstery. I used a high density foam and spray adhesive to secure the edges down to the plywood. Cotton batting helps create a nice plump look, which is finished with linen cloth and leather.

unspecified (6).jpg
unspecified (7).jpg
unspecified (8).jpg
unspecified (9).jpg
unspecified (10).jpg
unspecified (12).jpg

The curve on the leg was cut on the band saw. The leg attaches to the seat rail with one large sliding dovetail which was cut with handsaws and finished with a chisel.

unspecified (16).jpg
unspecified (13).jpg
unspecified (15).jpg
unspecified (17).jpg
unspecified (20).jpg

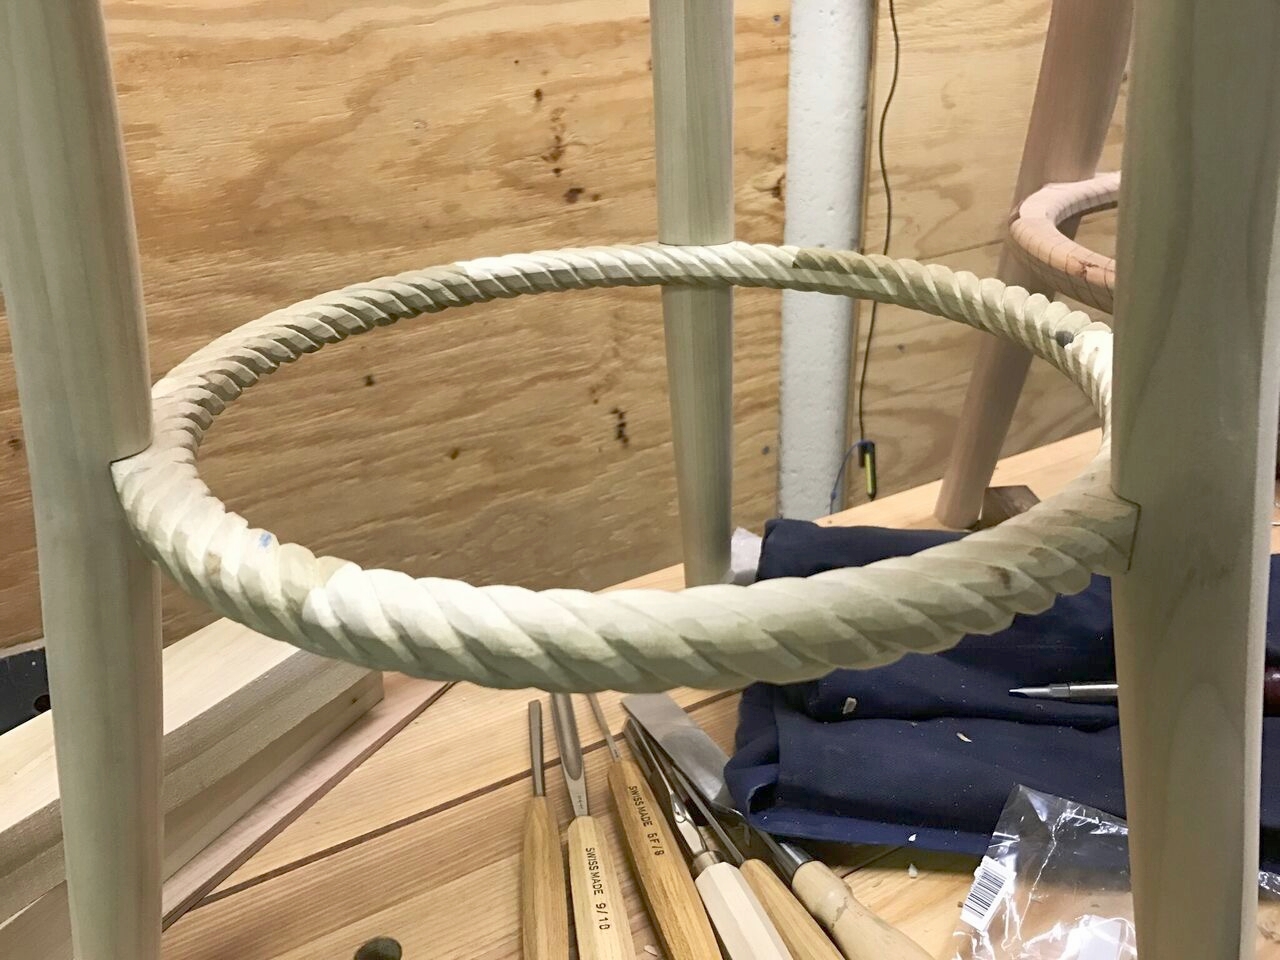
Once I had the joinery fitting snuggly, I shaped the bottom of the legs with drawknives and spokeshaves. The foot rest was made in the same brick laid fashion as the seat rail, then shaped and carved into a spiraling pattern. It attaches to the legs with a simple lap joint.

unspecified (21).jpg
unspecified (22).jpg
FullSizeRender 5.jpg

Winery Sign

Back in 2015, I made a hand carved sign for Sheldrake Point Winery's main tasting room. Here's a step-by-step look at my process.

Sheldrake Point has over 50 acres of estate vines overlooking Cayuga Lake in the heart of New York state's wine industry. This is a shot of the old sign.

2015-05-09 10.32.31.jpg

I started with a (very) rough drawing of my idea. I wanted the main sign to be an oval with a second hanging ribbon banner below and the letters relief carved with applied carving accents.

IMG_4283.jpg

I laid out the design for the oval using two nails and a piece of string. More on this simple technique here. 

2015-03-07 14.41.54.jpg

I drew one end of my ribbon and transferred the mirrored image to the other side with carbon paper.

2015-03-16 10.12.32.jpg

The sign was made from 1 1/4" thick clear eastern white pine. I edge glued 8 pieces together and sanded flat. Once I had the lay out for the signs complete, I cut the pieces out with a Festool jigsaw. Only minimal hand planing and sanding were needed to clean up the edges. 

2015-03-16 10.37.10.jpg

Next comes the lay out for words and borders. This process takes time to get just right.

2015-03-16 13.49.31.jpg
2015-03-17 14.39.09.jpg

I used carbon paper to transfer the letters onto the pine and drew in the border by hand.

2015-03-16 14.19.43.jpg

Then, I relieved the outlines of the waves in the ribbon to give the sign dimension. 

2015-03-18 13.05.34.jpg

Next step was to carve all the letters and border.

2015-03-18 13.17.34.jpg
2015-03-30 15.13.18.jpg

Once I finished carving, the sign got one coat oil based primer and two coats water based exterior paint.

2015-04-28 14.16.05.jpg

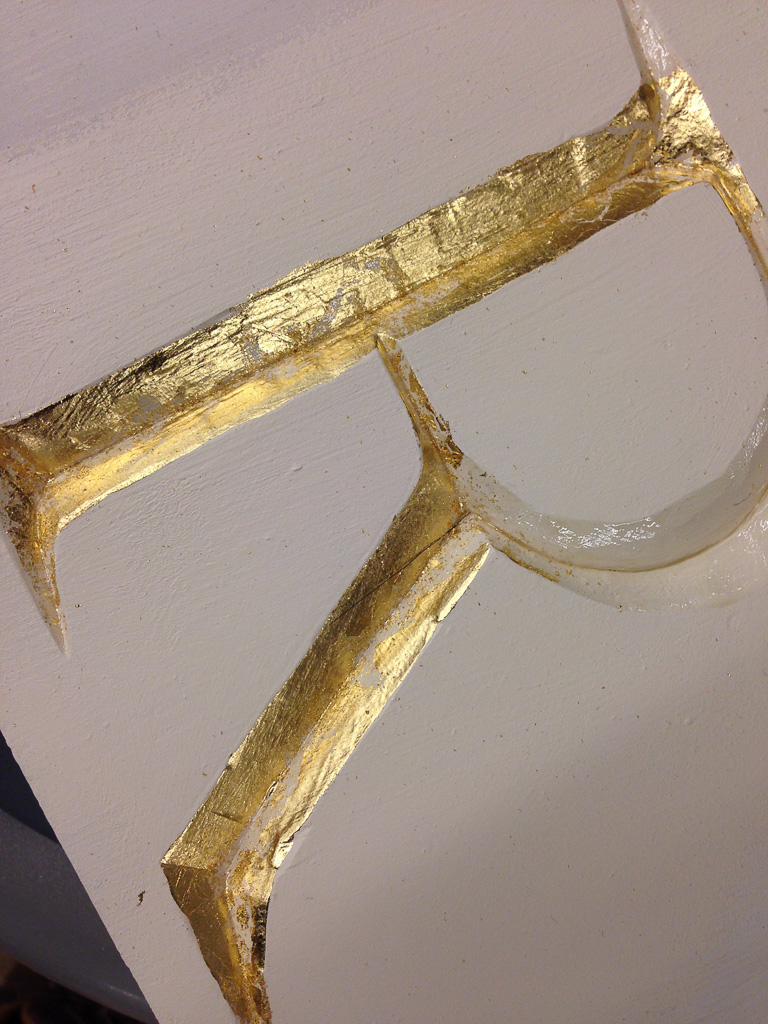
Here's a my gold leaf practice piece. To gold leaf, a thin layer of size (which is an adhesive) is applied in the groove. Once the size dries a bit and becomes tacky, you lay down sheets of gold leaf into the groove with a super soft artists brush. Always good to practice a tricky technique beforehand. 

2015-05-05 17.44.41.jpg

The letters were painted black and I gold leafed the border and the applied pieces.

2015-05-05 19.25.21.jpg

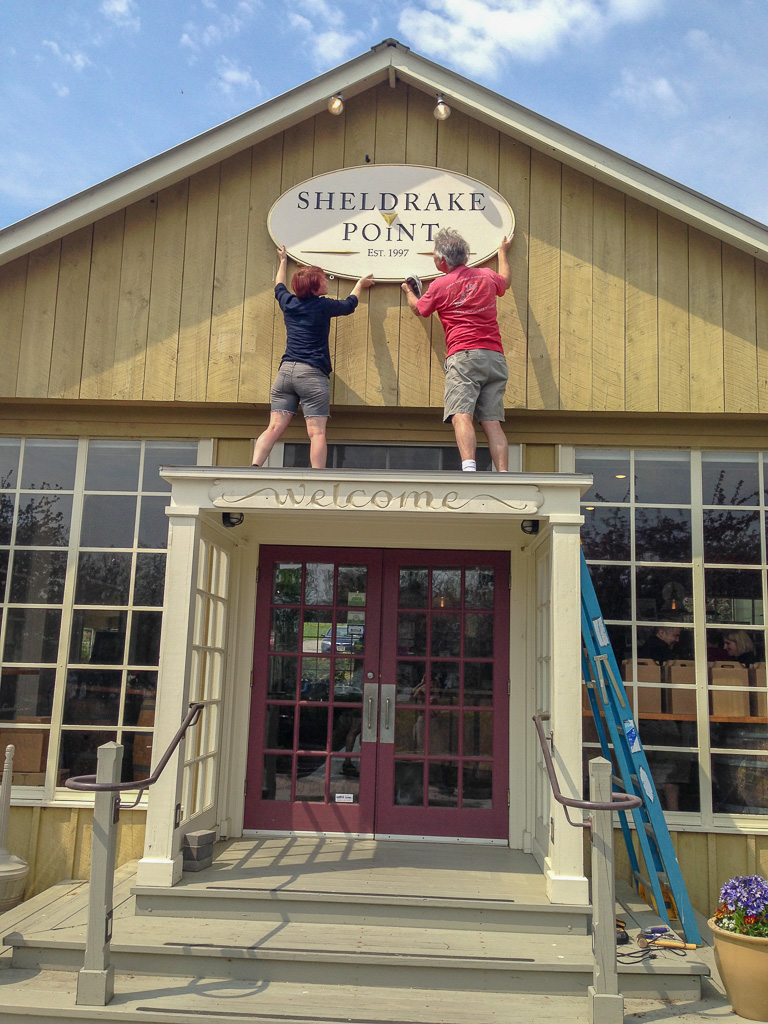
Here's me on install day - staring into the sun.

2015-05-09 10.42.38.jpg

The sign was attached to the building with two french cleats.

2015-05-09 11.14.26-1.jpg

Install complete!

2015-05-09 11.34.30.jpg
2015-05-09 11.43.56.jpg

Looking for a custom hand carved sign?


Nova Secretary


This secretary came out of my parent's house in upstate New York. I had grown up with this piece of furniture and I remember hiding inside it when I was small enough to do so. I found out only recently that the secretary was a family heirloom which my mother acquired after her grand-dad passed away in the 1980's.

2016-01-01 13.52.08_preview.jpg

IMG_0242.JPG

Before

Photos taken before restoration to illustrate condition


1. Disassemble and Clean

I first removed all the doors, drawers and pieces of hardware from the secretary. This gave me a better idea of the condition of the piece and how best to make repairs. During which I found some fun things...

Hand written text on the inside of the drop down door. Possibly some math equations and what looks like a small drawing of a flower. 

Another shot of the inside of the secretary drop down door. You can see hand writing in pencil, splotches of black ink and old lacquer that is peeling.

This is the inside of the door catch - made out of cast iron and steel. You can see the springs which keeps the latch closed. 

At some point, someone had added some shelves out of masonite and plywood. 

After removal of the plywood shelves I discovered beaded backboards, lots more ink stains and two small photographs, previously hidden.

We believe these two are Watson Smith and Jeanette Blair-Smith, my grandmother's grandparents on her father's side. Therefor, my great-great grandparents.

Another photograph of Watson and family

Another photograph of Watson and family


2. Repairs

I made two small dutchman repairs on the top left and bottom drawers, replaced the bottom rail of the main door and fixed the right stile which had split at the joint. I also added two door stops.


3. Strip old finish

The original shellac finish on the secretary was in bad shape. Areas on the sides had begun to craze and darken. The woodgrain was barely visible. To strip the old shellac I soaked paper towels in alcohol and plastic wrapped them around the wood. The alcohol dissolved the shellac, leaving a sticky residue, which I scrubbed with a scotchbrite pad. Finally, I sanded all of the surfaced with 220 grit to get any last color left on the surface of the wood.

IMG_0630.jpg
IMG_0623.jpg

As I was removing the finish, I found something jammed behind the bottom drawer... another photograph!

IMG_0628.jpg

Unfortunately, I was unable to identify which one of my ancestors this child is.


4. Clean Hardware

I removed the drawer pulls, hinges, door catches and drop down chain and cleaned them with a combination of alcohol and never dull. They then got buffed and shined with wax. One of the door catches was broken so I took it to my local blacksmith to repair.

IMG_0629-2.jpg
IMG_0706.jpg
IMG_0566.jpg

5. New Finish

I used a mixture of two water based stains to achieve a nice reddish brown color and then finished the piece with several coats of blonde shellac. 400 grit sandpaper and paste wax are the final touches.

IMG_0717.jpg
IMG_0704.jpg
IMG_0700.jpg
IMG_0701.jpg
IMG_0702.jpg
IMG_0703.jpg

IMG_0710.jpg

I found some writing on the inside of the secretary that looks like it may have been a recipe for a finish.

IMG_0713.jpg

I also found the maker's mark on the bottom of one of the drawers. The name of the cabinet shop is hard to make out but it clearly says "Stewiacke" which is the town in Nova Scotia where it was made. 

IMG_0720.jpg

I made a few small frames for the photographs to put on display inside the secretary.


IMG_0242.JPG

Before

IMG_0415.JPG

After


IMG_0750.jpg

Get in touch with me about your restoration project!