Winery Sign
/Back in 2015, I made a hand carved sign for Sheldrake Point Winery's main tasting room. Here's a step-by-step look at my process.
Sheldrake Point has over 50 acres of estate vines overlooking Cayuga Lake in the heart of New York state's wine industry. This is a shot of the old sign.
I started with a (very) rough drawing of my idea. I wanted the main sign to be an oval with a second hanging ribbon banner below and the letters relief carved with applied carving accents.
I laid out the design for the oval using two nails and a piece of string. More on this simple technique here.
I drew one end of my ribbon and transferred the mirrored image to the other side with carbon paper.
The sign was made from 1 1/4" thick clear eastern white pine. I edge glued 8 pieces together and sanded flat. Once I had the lay out for the signs complete, I cut the pieces out with a Festool jigsaw. Only minimal hand planing and sanding were needed to clean up the edges.
Next comes the lay out for words and borders. This process takes time to get just right.
I used carbon paper to transfer the letters onto the pine and drew in the border by hand.
Then, I relieved the outlines of the waves in the ribbon to give the sign dimension.
Next step was to carve all the letters and border.
Once I finished carving, the sign got one coat oil based primer and two coats water based exterior paint.
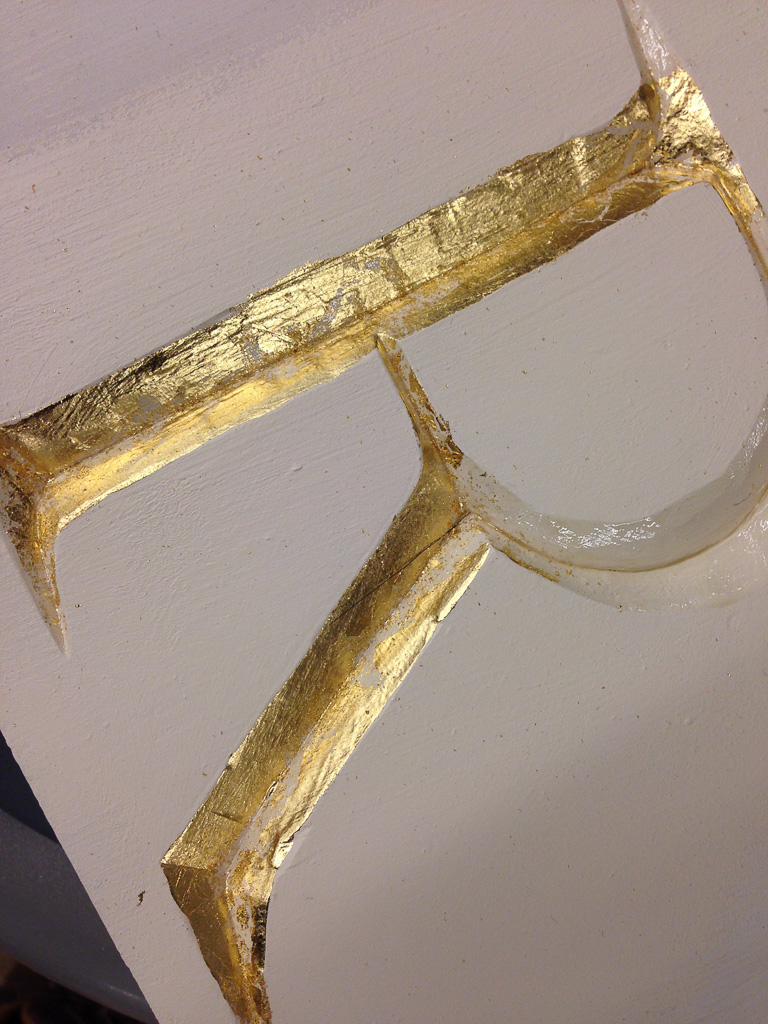
Here's a my gold leaf practice piece. To gold leaf, a thin layer of size (which is an adhesive) is applied in the groove. Once the size dries a bit and becomes tacky, you lay down sheets of gold leaf into the groove with a super soft artists brush. Always good to practice a tricky technique beforehand.
The letters were painted black and I gold leafed the border and the applied pieces.
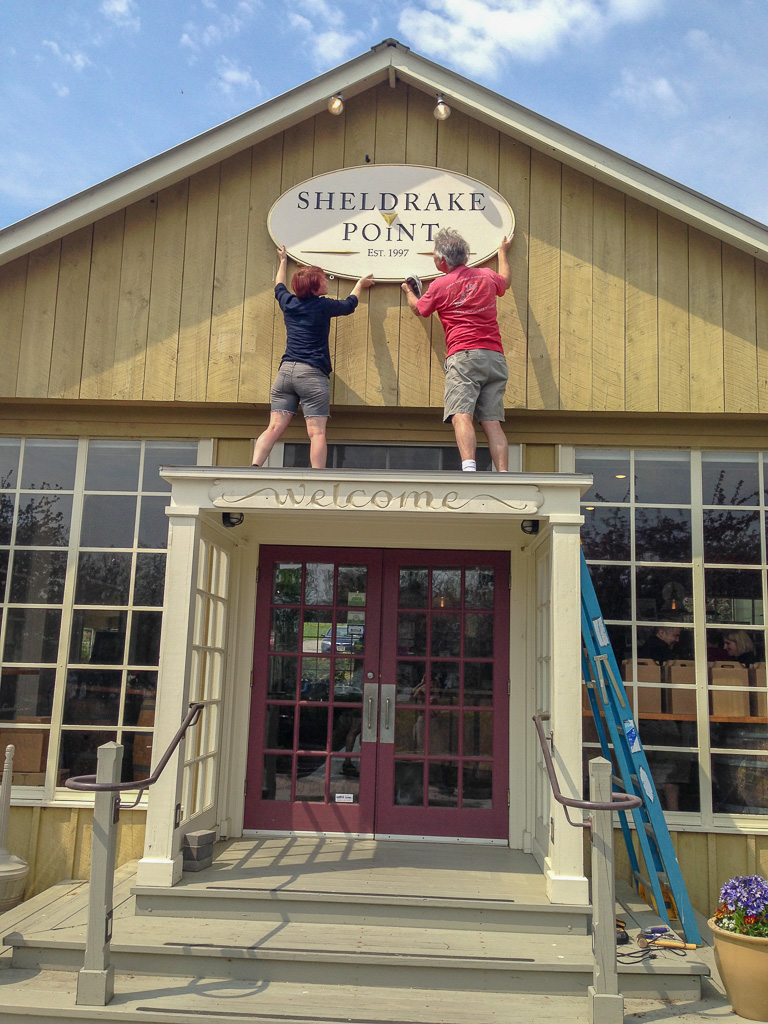
Here's me on install day - staring into the sun.
The sign was attached to the building with two french cleats.


